Namaste Everyone,
As we all know, now we have a new Power Automate designer and sooner or later, we need to get used to it. So, let’s explore some updated features of this new designer.
In this blog, we will learn:
- How to add steps
- How to edit properties
- How to rename actions
- How to switch back to the classic designer
- How to check the flow runs
There are quite a few new things that you really will have to get used to in the new Power Automate Designer.
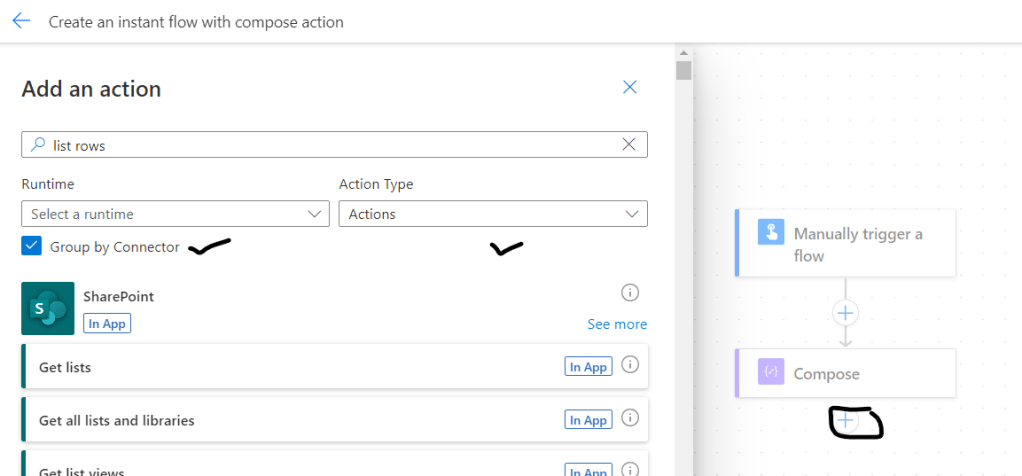
- How to add steps: When you click on “+” icon to add an action, it will open a separate window to select an action and you also may choose runtime and action type as shown below:
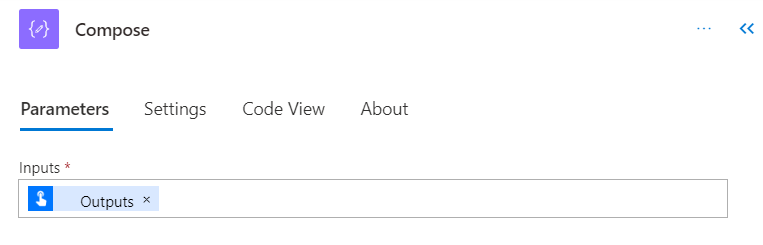
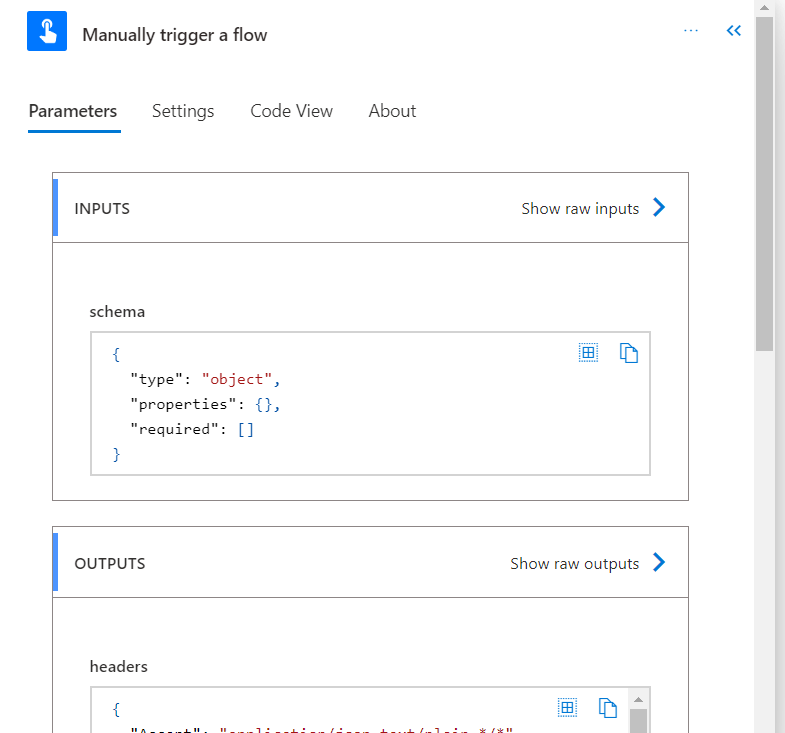
2. How to edit properties: If you want to edit properties of “Trigger” or “Action” then you simply need to tap of the “Action/Trigger” and a window will open with different tabs. From there, you may edit the properties as per your requirement. The property section is divided into 4 tabs such as Parameters, Settings, Code View and About.
- Parameters: From here, you may select dynamic content from the previous step as an input.
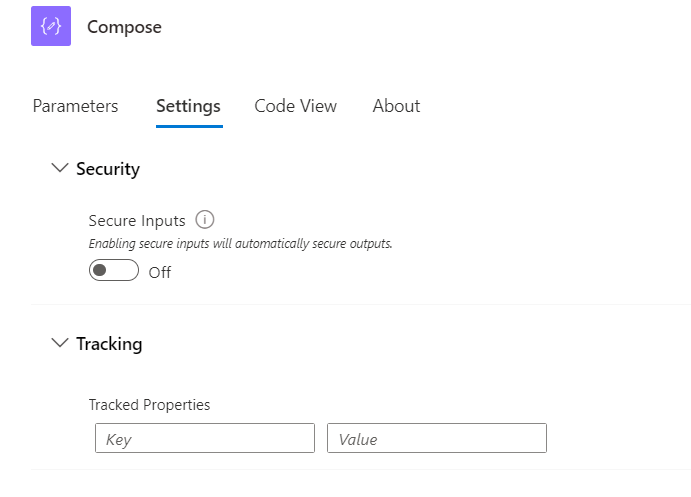
b. Settings: Based on the action you have selected, you will get different options under settings tab. Here, I’ve selected “Compose” action and I am getting these two options: Security and Tracking:
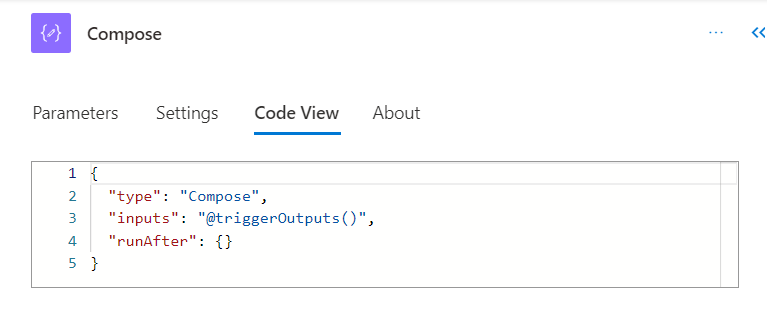
c. Code View: You may simply see the code view of your action under this tab
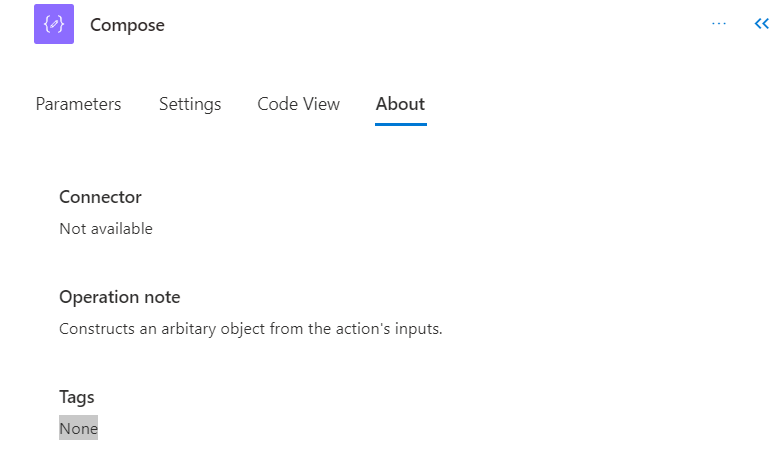
d. About: Basically, this tab shows all the details about respective action like which connector you are using, tags etc.
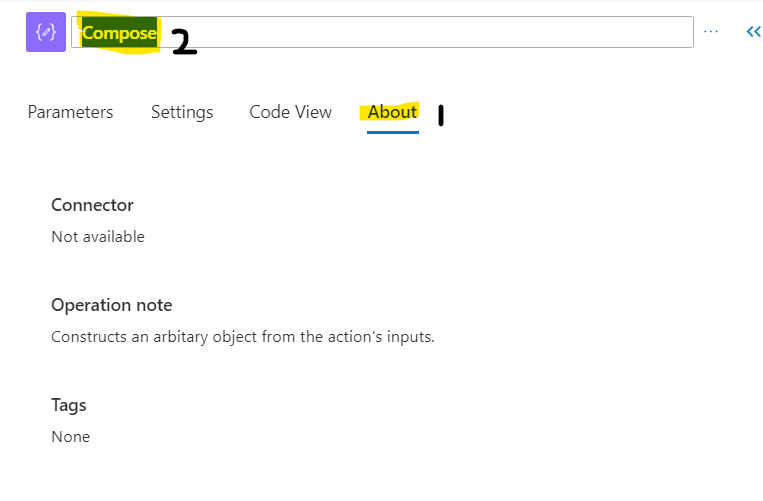
3. How to rename actions: Renaming actions will feel a bit different as well. You can rename actions by going to the property pane of the action and then click on the name. So, you can rename it directly from the Flow diagram itself.
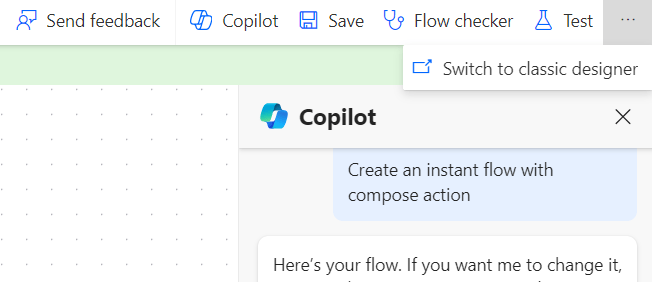
4. How to switch back to the classic designer: This is quite interesting that you can switch back to the classical designer while you get used to the new designer which will be helpful for us if we can’t find anything in the new UI. To go to the classic designer, you simply need to click on three dots(…) at the top right corner of the screen and then click on “Switch to classic designer” as shown below:
5. How to check flow runs: It is important to know how to check flow runs. So, if your action fails then details about the failure will be visible as before but to see that, you need to click on the action/trigger and results will reflect in property pane of respective action or trigger.
Hope it helps!
To know more about the new features of this new power automate designer, stay tuned for Part -2 with Power Spark. We will explore more features in our next blog.
#Let’s_learn_together
Thanks for reading 😊

Leave a comment