
In this easy-to-follow Power Automate tutorial, we’ll learn how to effortlessly store email attachments in SharePoint. But that’s not all – we’ll also discover how to give these attachments new names as they land in SharePoint, all thanks to Power Automate. And if you’re looking to keep things organized by saving only PDF attachments, we’ve got you covered. Let’s simplify the process and make managing your files a breeze!
The Use Case:
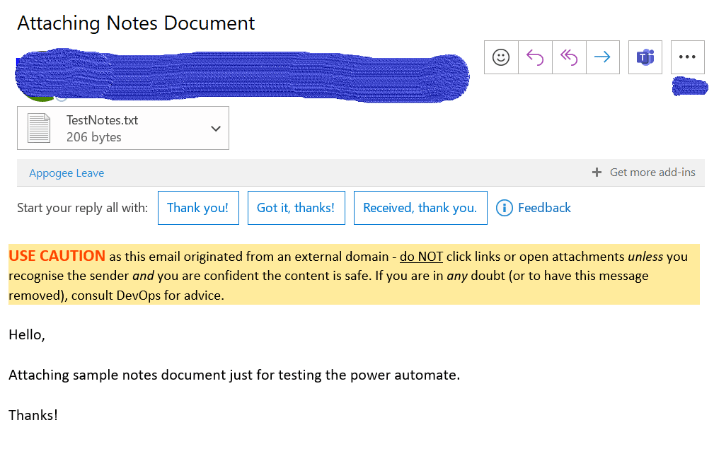
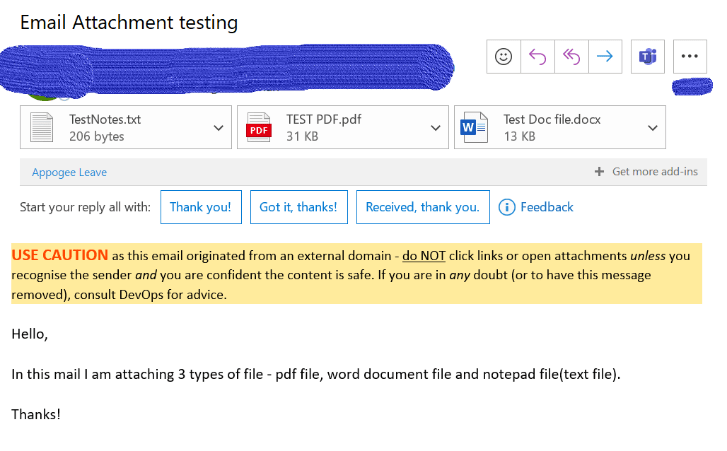
When you get an email with files attached in Outlook, let’s save all of them in SharePoint. Now, here’s the cool part – if any of those attachments happen to be PDFs, we’ll stash them away in a special folder just for PDFs.
Document Library Overview:
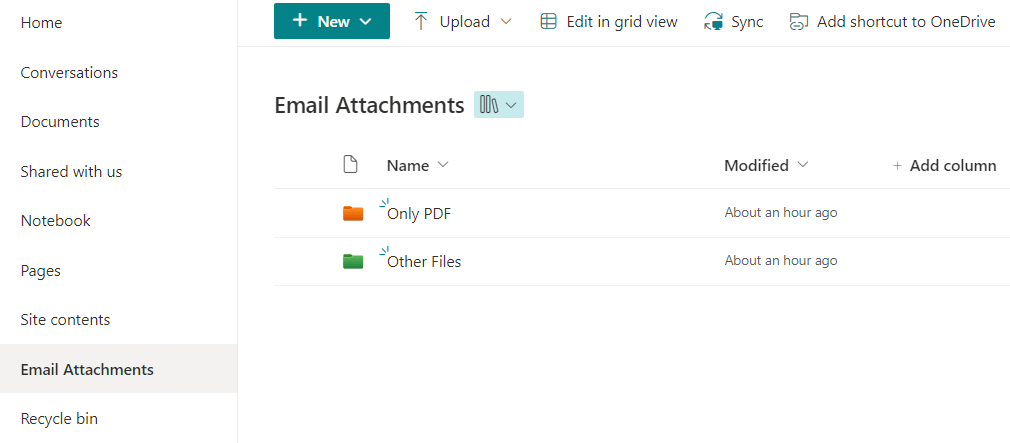
Inside the “Email Attachments” library, we’ve implemented a simple yet effective folder structure to categorize different types of files. Let’s break it down:
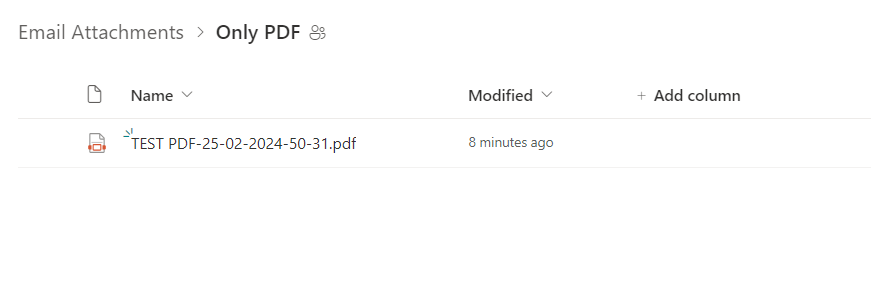
“Only PDF” Folder”:
Purpose: This folder is designated exclusively for PDF files.
Function: All PDF attachments are directed here for a streamlined and dedicated storage solution.
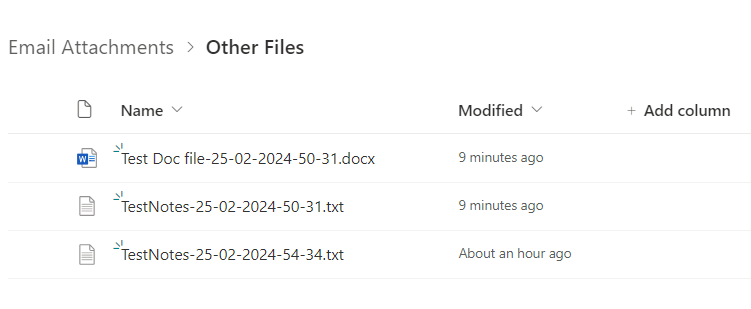
“Other files” Folder”:
Purpose: This folder serves as a repository for files other than PDFs.
Function: Any non-PDF attachments find their home in this section, maintaining a clear distinction from PDF documents.
Steps for the Power Automate cloud flow:
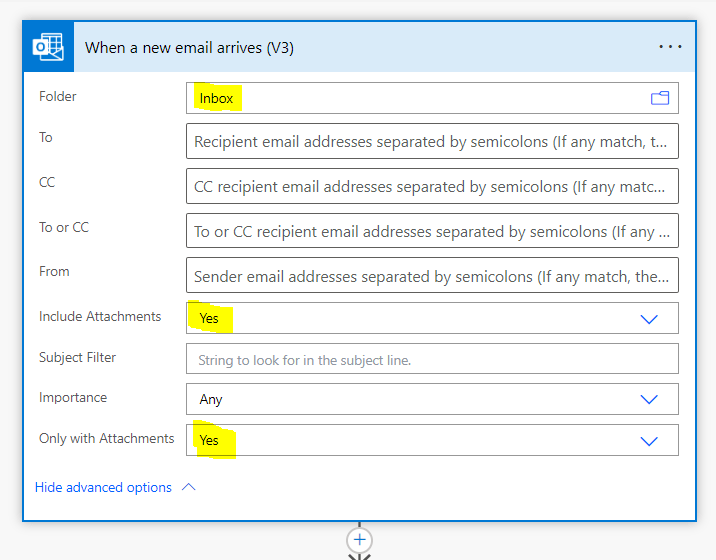
First, open Power Automate and choose to make an “Automated Cloud flow.” Now, pick a starting point( Trigger Action ), and we’ll go with “When a new email arrives (V3)”.
Create a connection of your outlook, now select highlighted information:
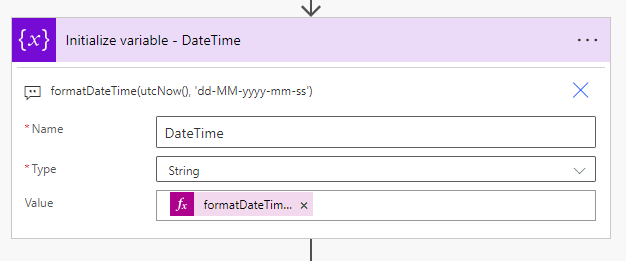
If you receive a file with the same name, it will overwrite the existing file in the SharePoint folder. To prevent this, we’re going to add the date and time to the file name. This way, each file gets a unique timestamp, avoiding any potential conflicts.
Let’s create a new variable and call it “DateName” Now, set its value using the following expression:
formatDateTime(utcNow(), ‘dd-MM-yyyy-mm-ss’)
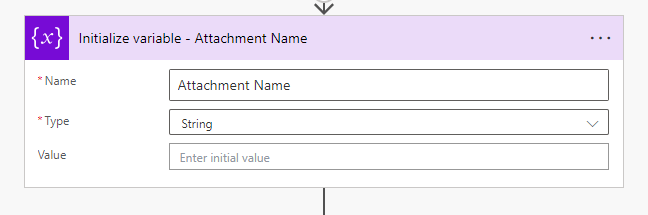
Let’s make one more variable called “Attachment Name.” For now, leave it empty; we’ll fill in its value later on.
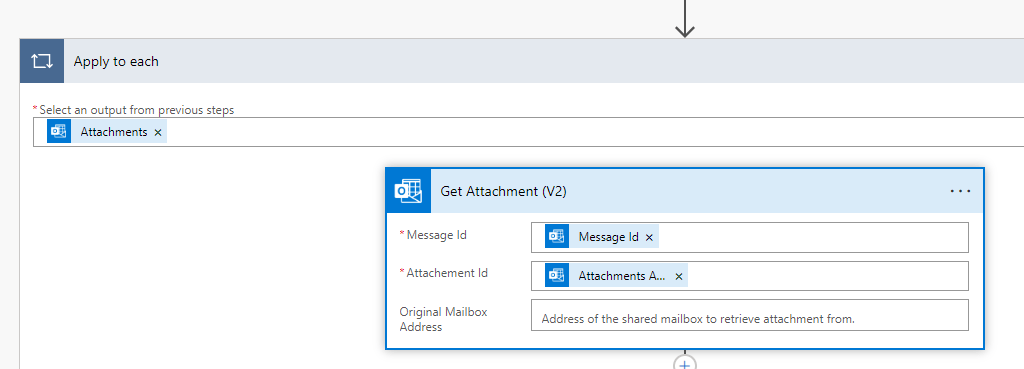
In the next step, find the action called “Get Attachment (V2)” and give it the “Message ID” and “Attachments Attachment Id” from the trigger body. Once you pick either of these, this action will automatically be placed under an “Apply to each” loop.
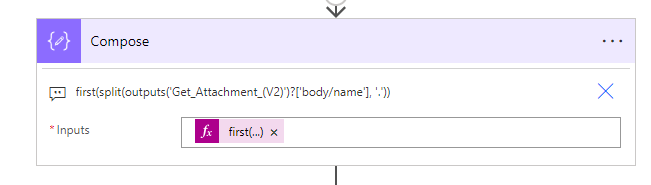
Now, include the “Compose” action to capture the file name using below expression:
first(split(outputs(‘Get_Attachment_(V2)’)?[‘body/name’], ‘.’))
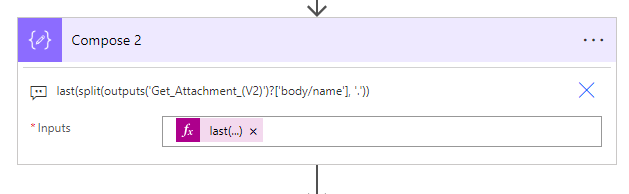
Now, add another “Compose” action to grab the file type. Later, we’ll combine these details.
Expression:
last(split(outputs(‘Get_Attachment_(V2)’)?[‘body/name’], ‘.’))
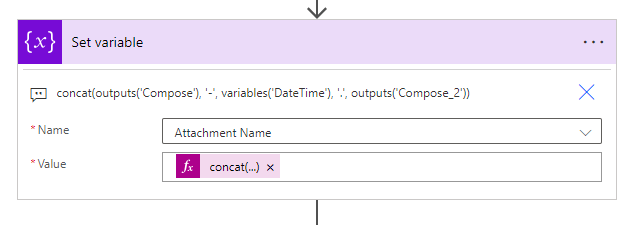
Now, add a “Set variable” action and assign a value to it. We’re going to merge the filename, today’s date and time, and extension to generate a fresh new file name.
Expression:
concat(outputs(‘Compose’), ‘-‘, variables(‘DateTime’), ‘.’, outputs(‘Compose_2’))
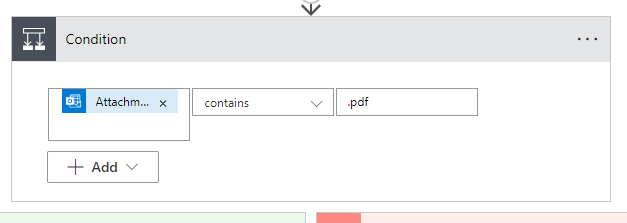
Following that, insert a condition and choose “Attachment name”. Select the operator as “contains” and add “.pdf”. This step checks whether the attachment name contains “pdf” or not.
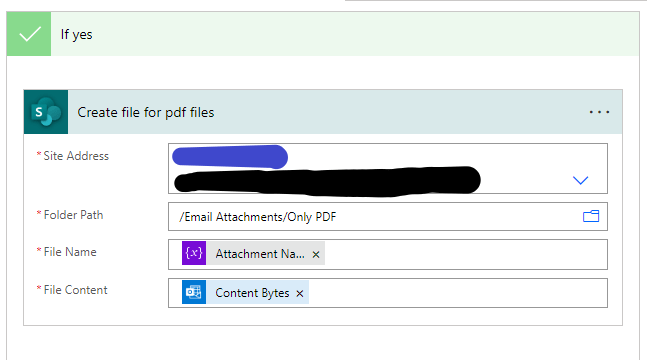
In the “Yes” section, include the “Create File” action. Specify the site address and folder path. For the file name, choose the variable we created, which is “Attachment Name.” Additionally, opt for the “Content byte” in the file content section. This will ensure that a new file is created with the specified details in case the attachment name contains “pdf”.
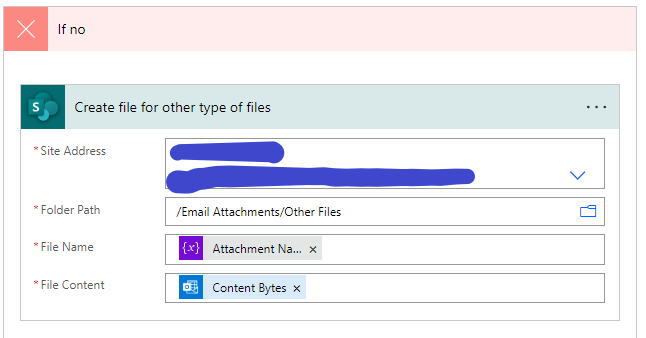
In the “No” section, incorporate the “Create File” action. Specify the site address and the folder path (specifically created for other file types). For the file name, choose the “Attachment Name” variable we created earlier. Also, select “Content byte” for the file content. This ensures that if the attachment name doesn’t contain “pdf”, the file will be created in the designated folder for other file types.
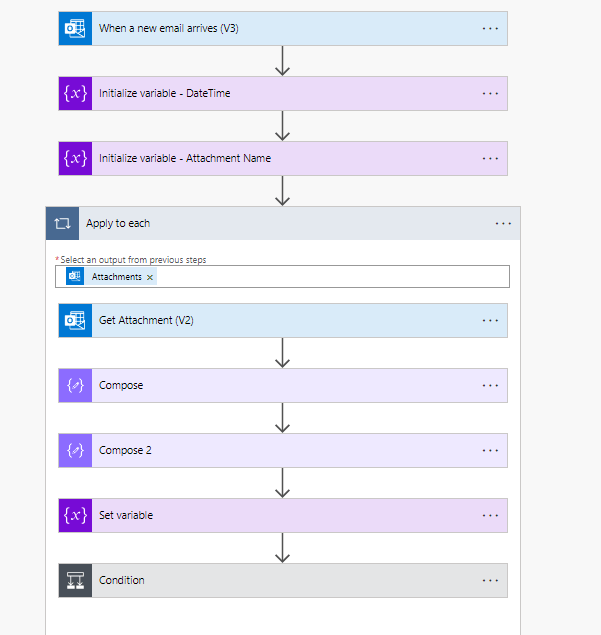
Final flow of Power Automate:
Now, save the flow, and to test it, send out email to your Outlook mail. This will trigger the Power Automate flow, and based on the attachments in the emails, it will create new files in the SharePoint folders with unique names.
Once you’ve sent the mentioned emails to your Outlook, you’ll find the following files created in your SharePoint folders as per the conditions set in the Power Automate flow. Check the designated folders for PDFs and other file types to see the newly generated files with unique names based on the attachments.
This is how we can save email attachments and sort them into specific folders based on their file types. It ensures that each file gets its own unique name, making the process organized and efficient.
Thank you for taking time to read this blog, feel free to comment if you have any questions. Don’t forget to follow and share this with your friends too!
Hope it helps!
#Let’s_Learn_Together
Stay tuned with Power Spark for continuous learning.

Leave a comment