Hello everyone,
Hope you all are doing good!
In our last blog post, we walked you through setting up a Power Pages trial and successfully creating a site. If you missed it, you can find the detailed step-by-step guide for a 30-day free trial by clicking here.
In this blog post, we’ll explore how to add a page to your Power Pages site. Pages in Power Pages help you arrange and show your content in a clear and attractive way, making your website easy to navigate and visually pleasing.
Steps:
- Go to Power Pages.

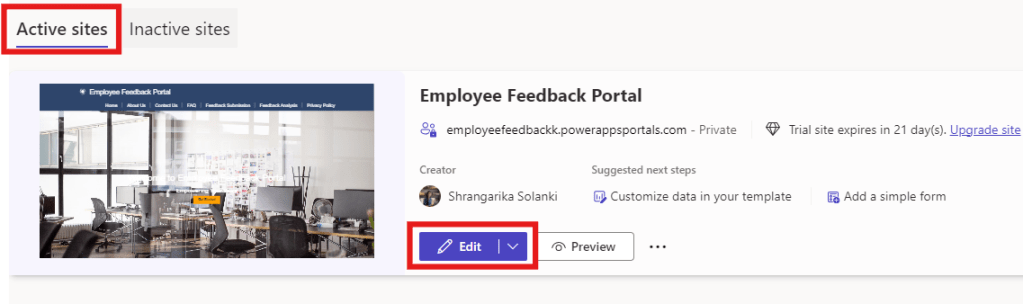
- Select the site where you want to add a page and click on “Edit”. If you do not have a site, then refer previous blog to create a site.
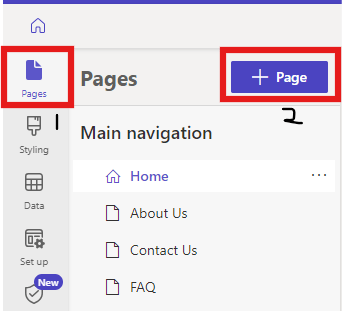
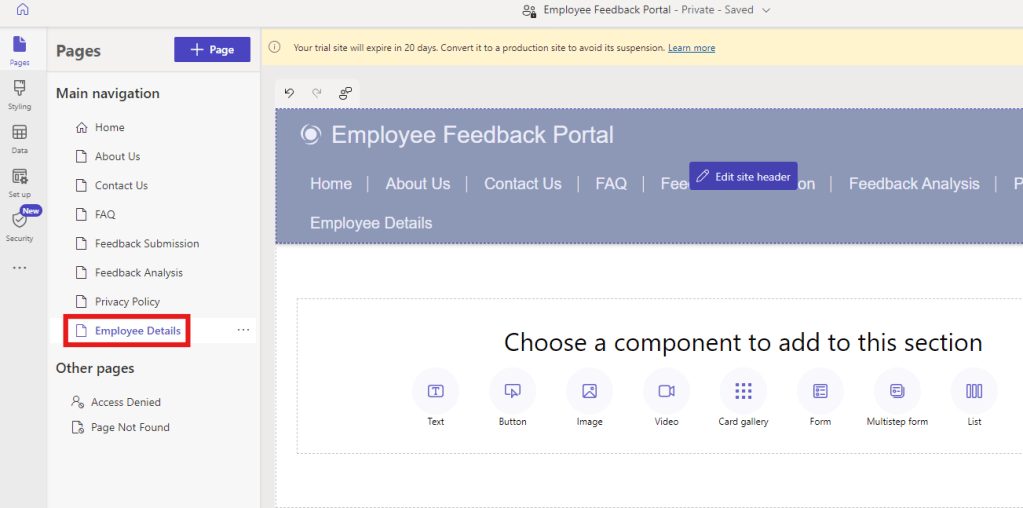
- Select Pages and then “+Page” to add a page as shown below.
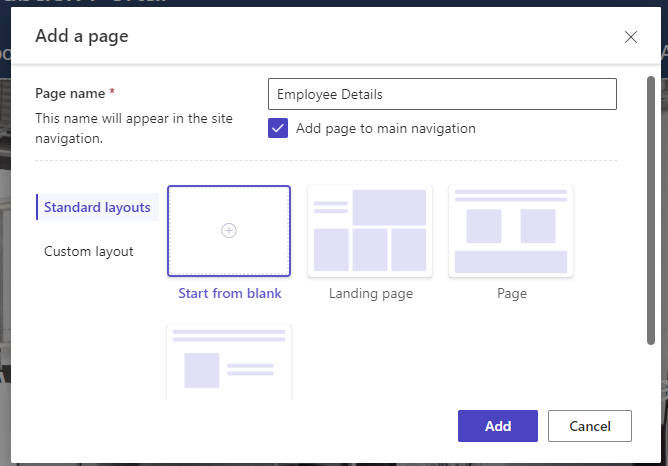
- Give a name to your page and then select “Start from blank” page layout and click “Add”.
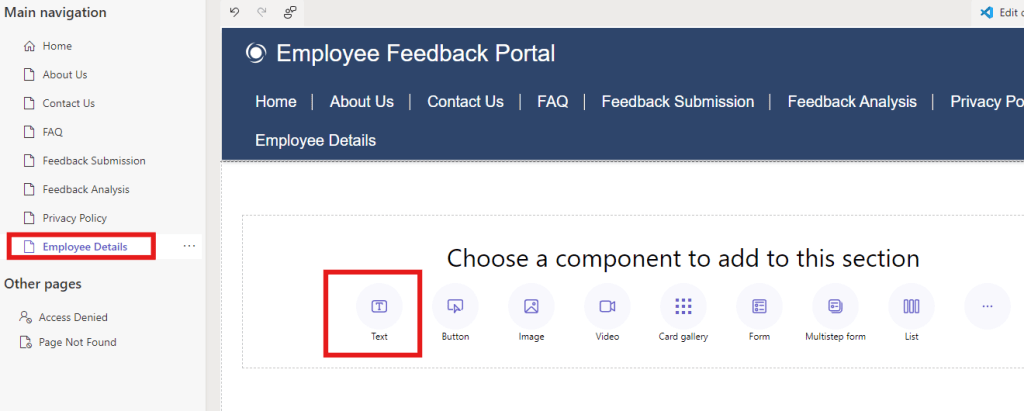
- A blank page will be added to the Main Navigation as shown below.
Now, Let’s explore some components:
- Select “Text” option from editor.
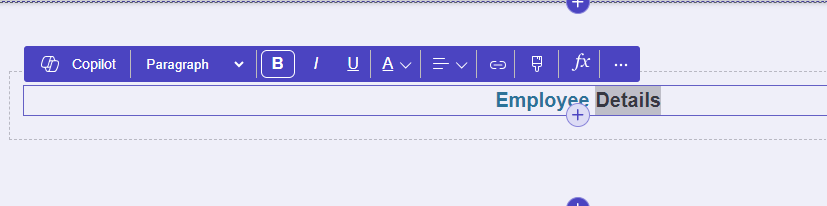
- Provide a name to your page and from here you can style the text you have added. You can change the color, alignment and so on.
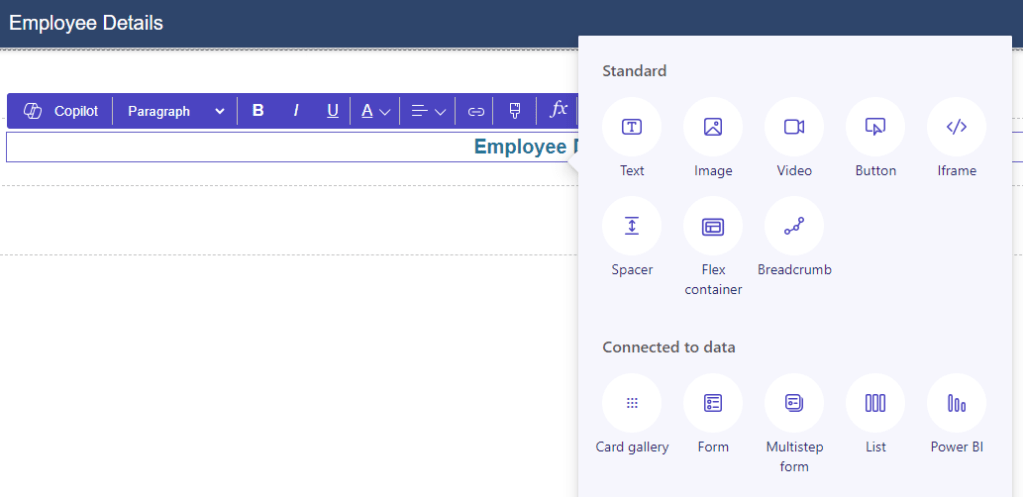
- Similarly, you can click on “+” icon and add components as per your need to style your page.
Now, add some components and experiment.
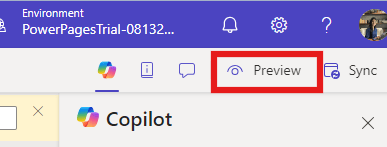
- Once done, you may click on “Preview” >> “Desktop” option from top right corner to preview your page.
In our next blog, we’ll dive into styling your site, including setting up your brand logo and changing the theme colors.
Stay tuned with “Power Spark By Shrangarika” for continuous learning.
Thank you for reading!
#Let’s_Learn_Together

Leave a comment