
Hello everyone,
Hope you all are doing well!
In our past few lectures in Power Pages series, we have explored basics of Power Pages like configuring tables, columns, forms, lists, multistep forms etc. in Power Pages site.
In today’s blogpost, we will explore site authentication in Power Pages.
What is site authentication?
- In Power Pages, users can authenticate their Microsoft accounts through Microsoft identity providers. This feature is part of a comprehensive authentication system that supports various identity providers and protocols to ensure secure user access.
- Power Pages also supports other identity providers like LinkedIn, Google, Facebook, and Twitter, giving users the flexibility to choose their preferred authentication method.
Steps to set up Microsoft’s identity provider in Power Pages:
- Login to Power Pages using your Microsoft’s credentials.
- Create Microsoft’s App Registration in Azure Portal.
- Create a Client Secret ID.
- Configure Microsoft Identity Provider in Power pages using App ID and Client Secret.
Let’s follow step-by-step instructions:
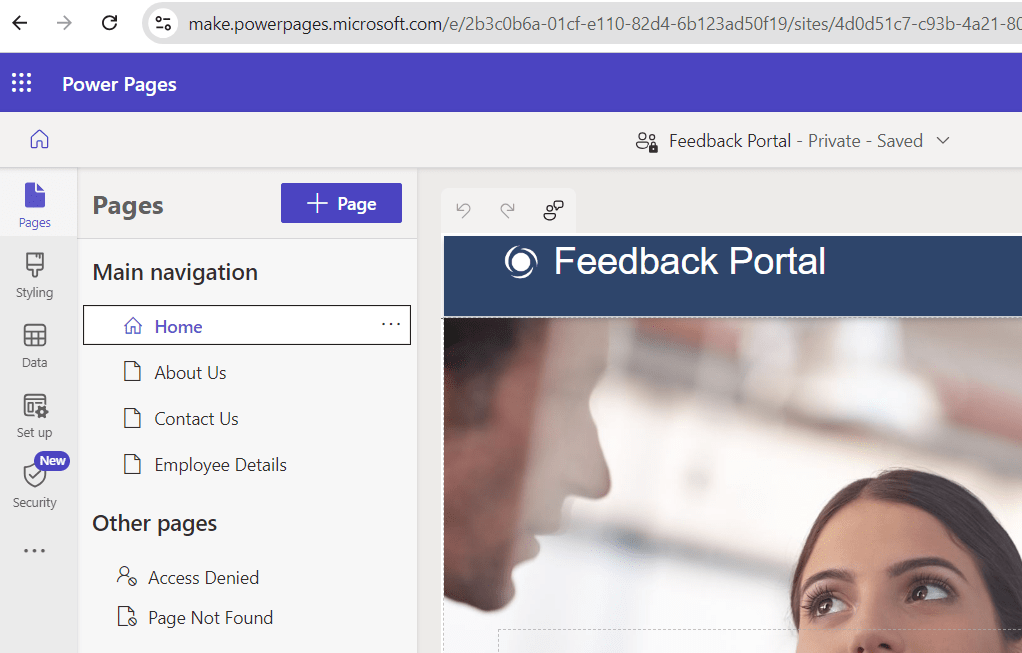
Login to Power Pages.
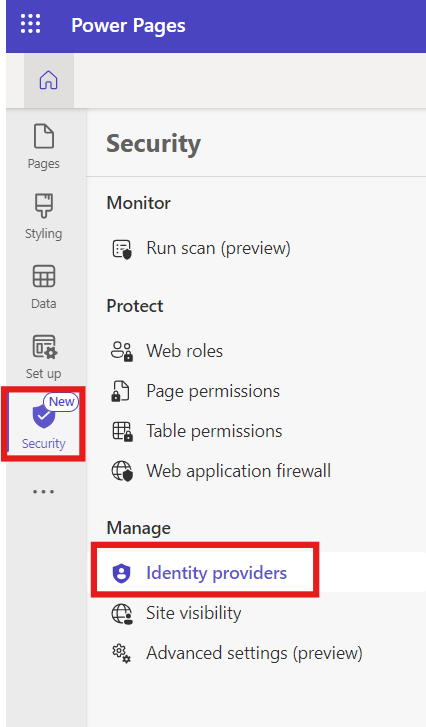
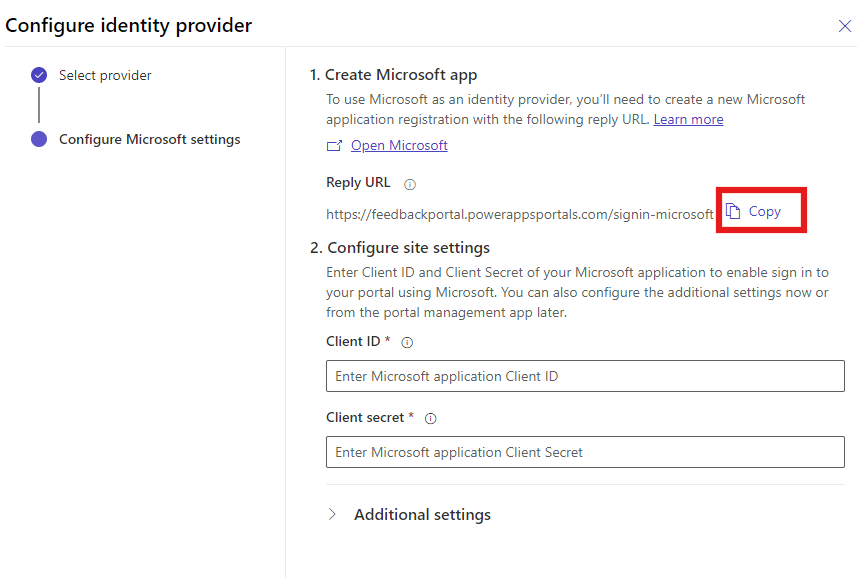
- From the left navigation, select “Security” >> Identity Providers.
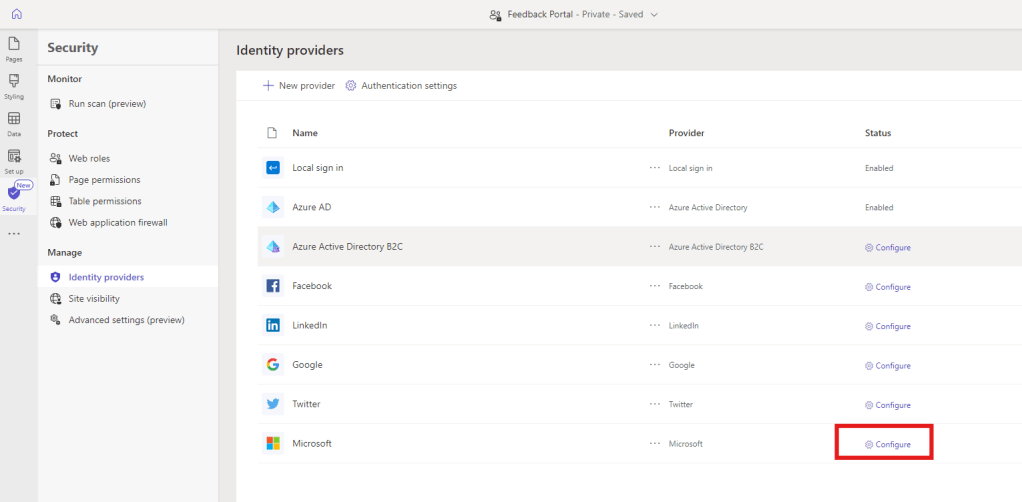
- Click on “Configure” next to Microsoft.
- Click on “Next”.
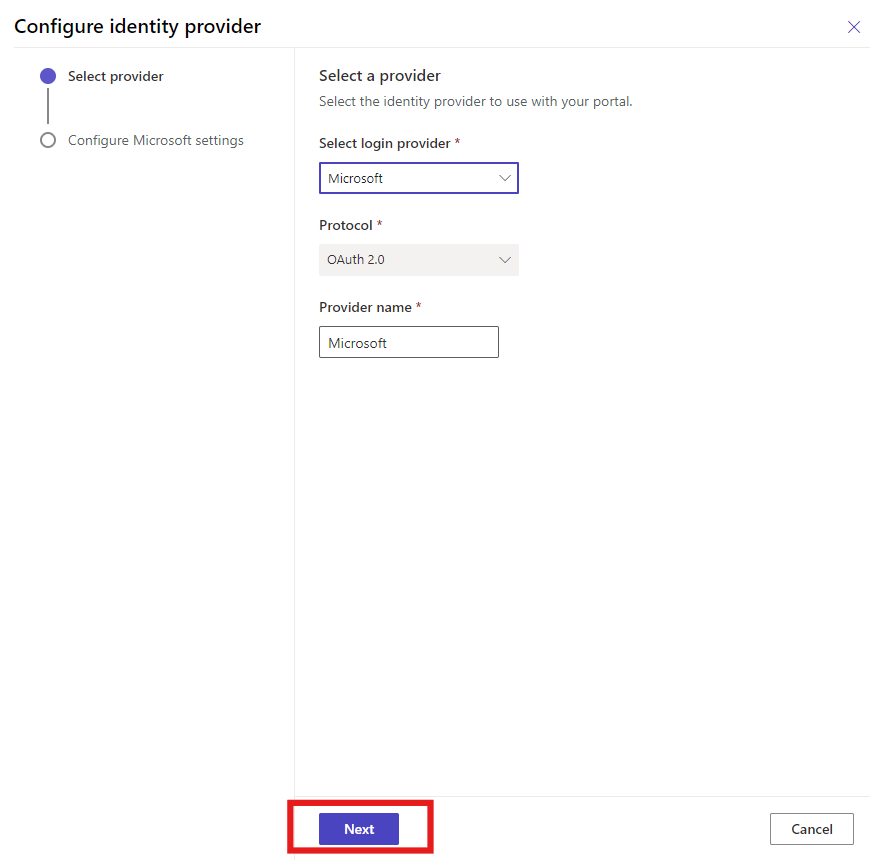
- Copy the URL to use it later.
Create Microsoft’s App Registration in Azure Portal
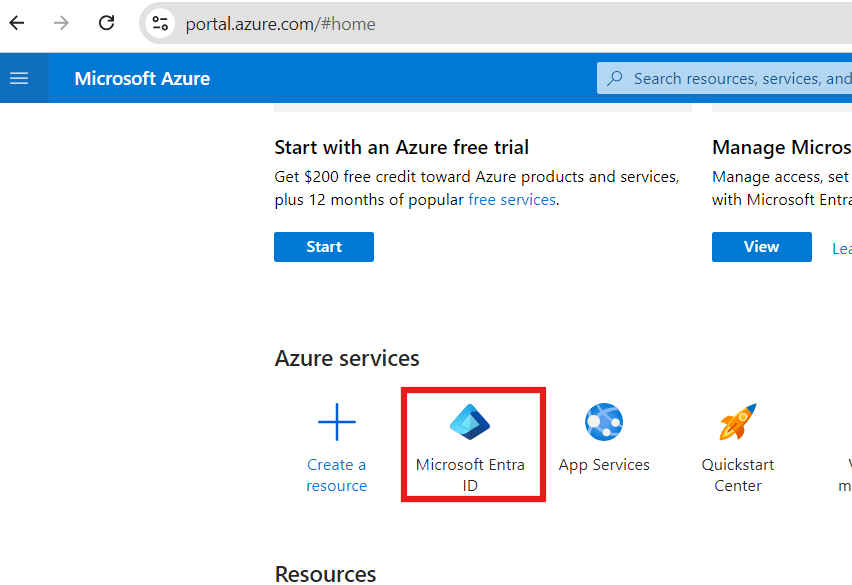
- Login to Microsoft Azure Portal in a new tab.
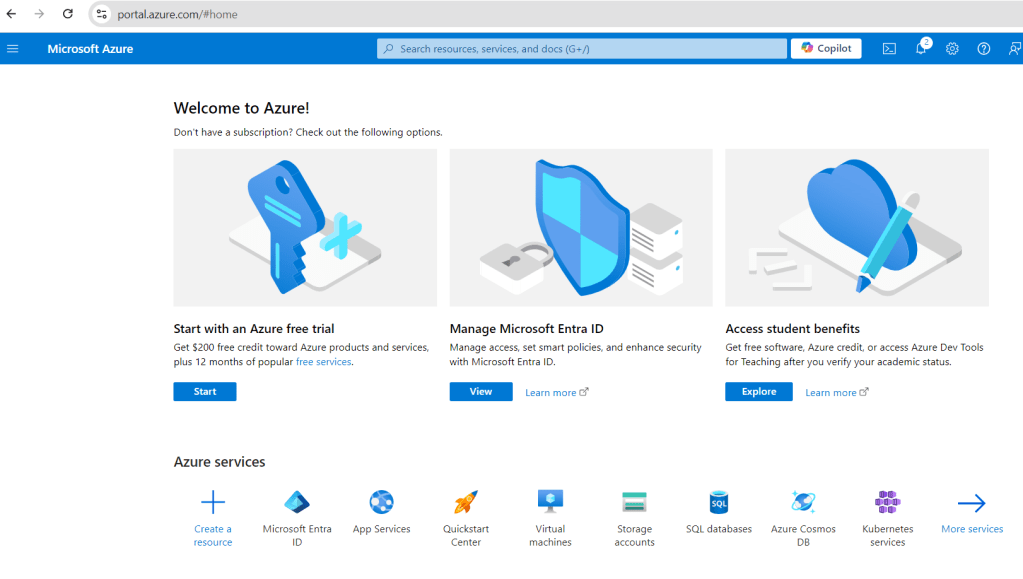
- Select “Microsoft Entra ID”.
- Expand “Manage” and click on “App Registration” from the left navigation pane.
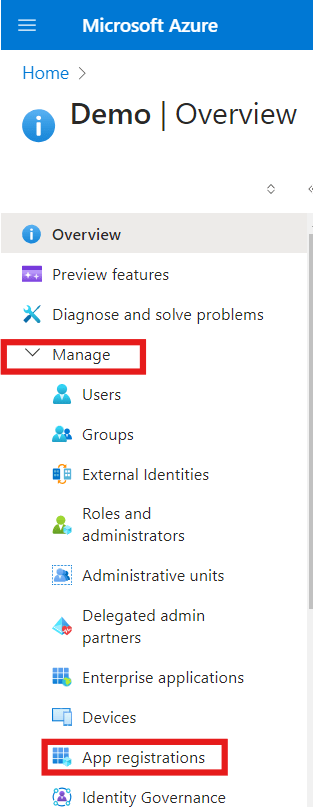
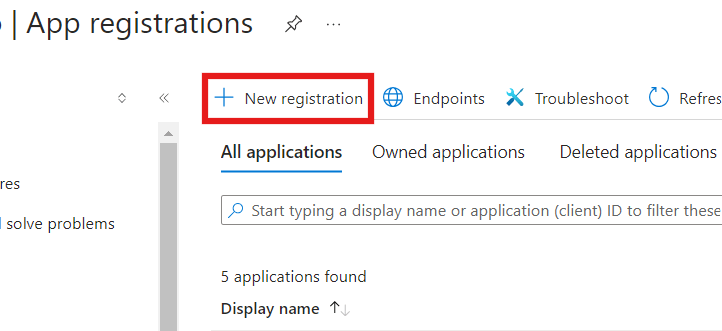
- Click on “+New Registration”.
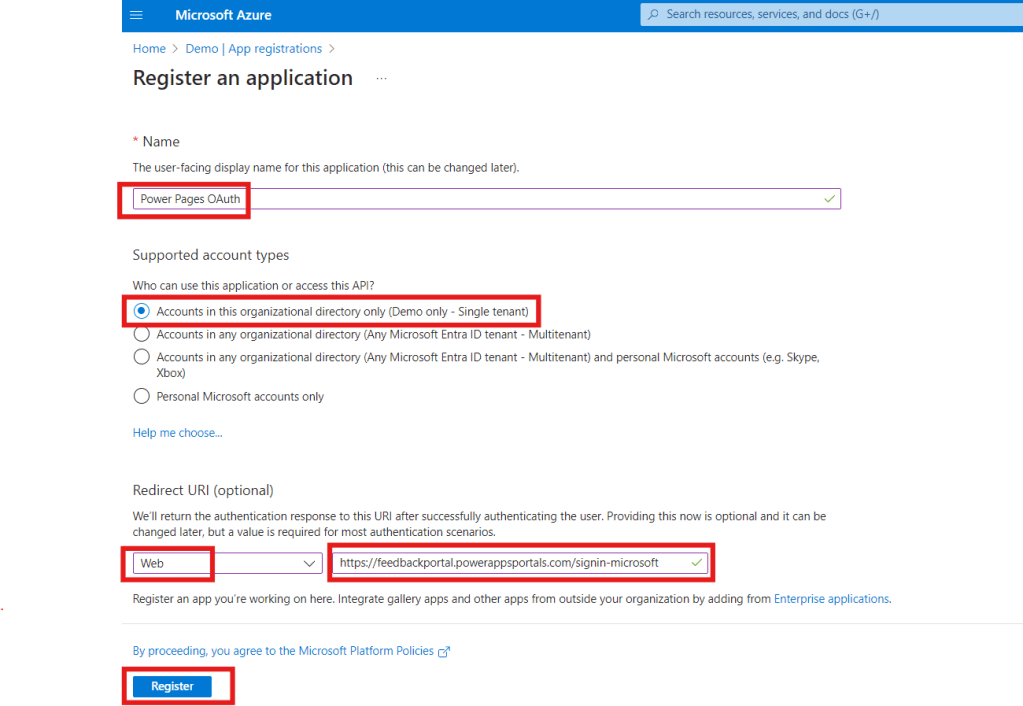
- Enter the following details:
- Name – Give it a name. Example – Power Pages OAUth
- Who can use this application or access this API? – Select any option as per your need. Here, I am selecting for “Accounts in this organizational directory only (Demo only – Single tenant)”.
- Redirect URL – Select web and paste the site URL we have copied earlier.
- Click on “Register”.
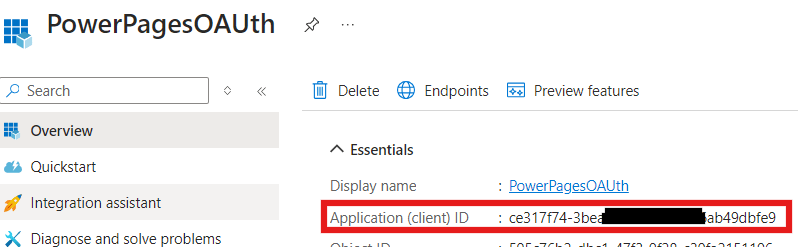
- Copy Application (client) ID to use it later.
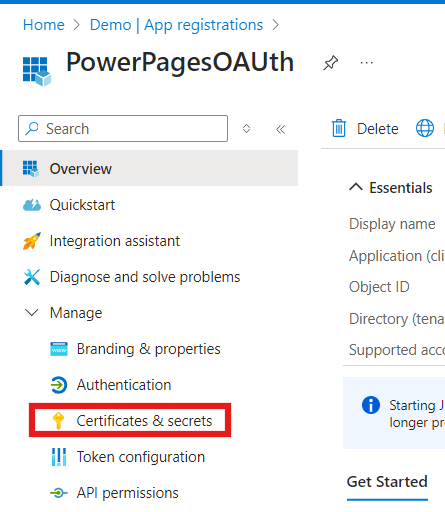
Create a Client Secret ID
- Click on “Certifications and secrets”.
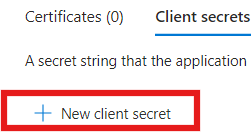
- Click “+New client secret”
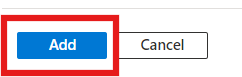
- Give description and set expiration duration.

- Select “Add”.
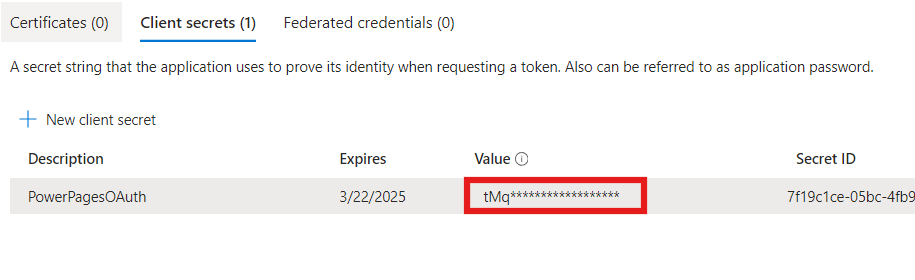
- Now, copy the “Value” and save it for later.
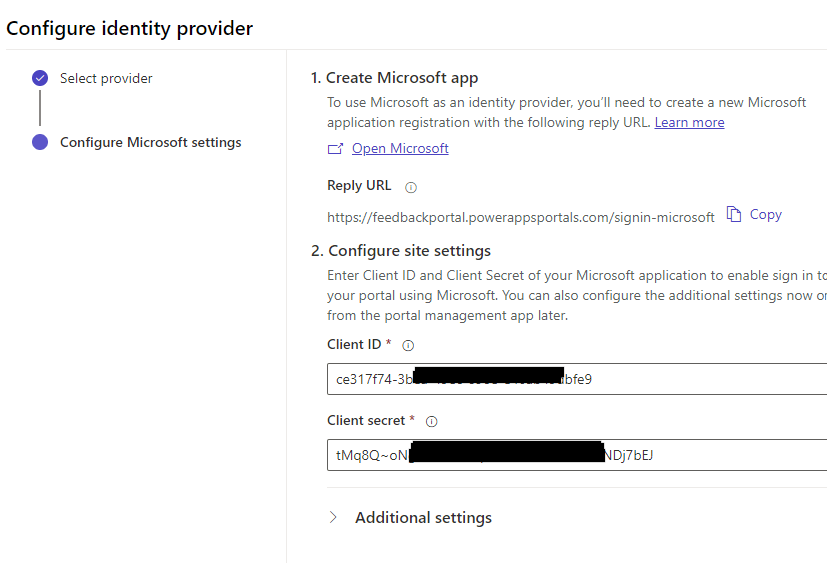
Configure Microsoft Identity Provider in Power pages using App ID and Client Secret:
- Now, go back to the Power pages and paste Application (Client) ID and Client Secret ID (Here don’t get confused, you need to paste value in Client secret field not Secret ID) then click “Confirm” then close.
- Sync the changes.
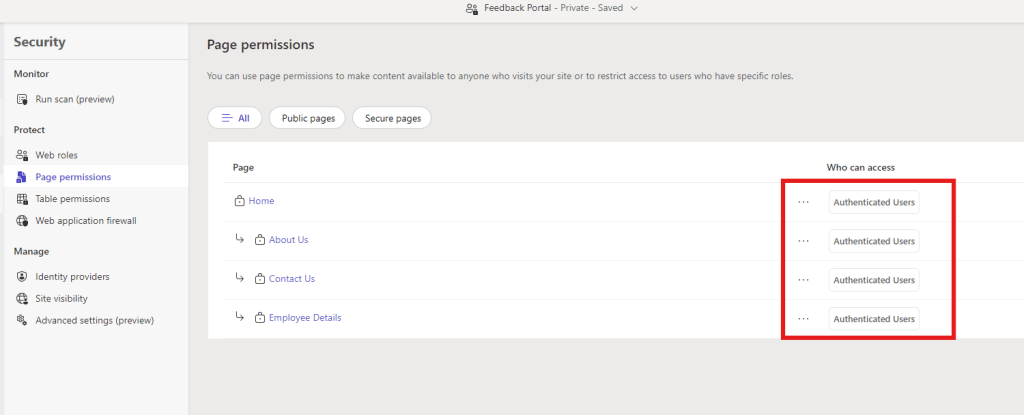
- Here, I am also changing “Page Permissions” of all the pages as “Authenticated users”.
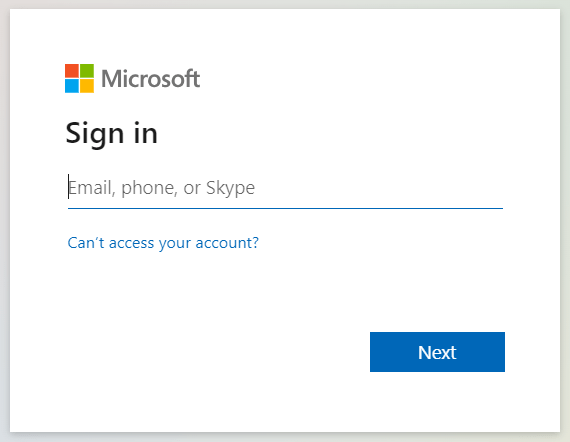
- Now, as soon as you access your site URL, you will be re-directed to Microsoft’s login page. Login with your Microsoft’s account credentials.
- We are successfully logged in.
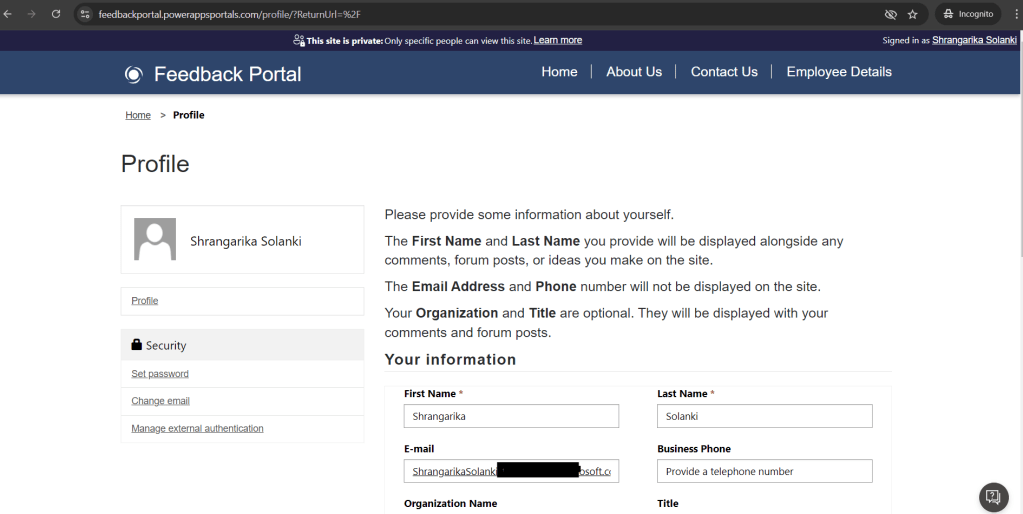
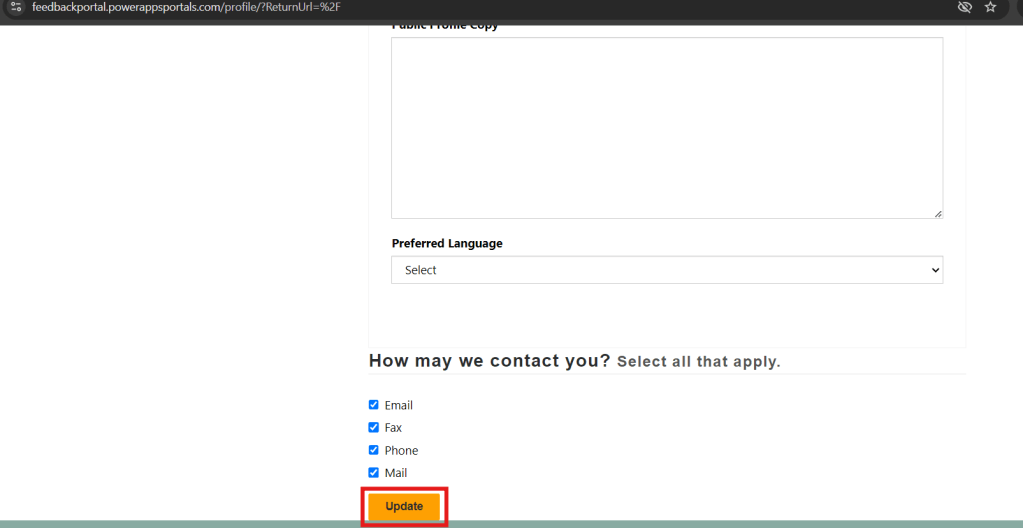
- Now, from here, you also can update your personal information if you want to, by adding the information in the respective columns and clicking on “update”.
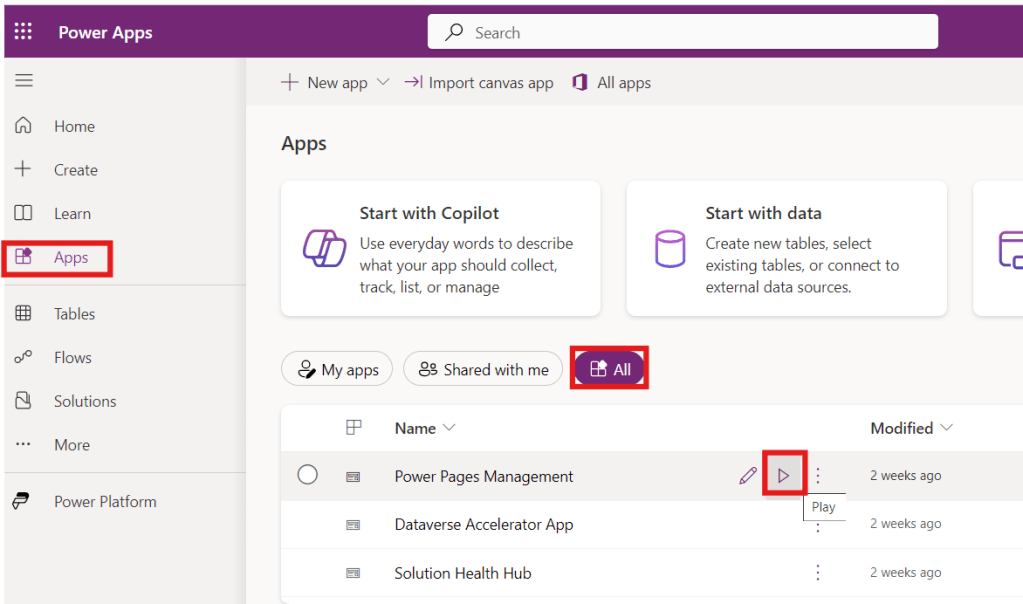
- Now when you navigate to the “Contact” from “Power Pages Management” app. (make.powerapps.com >> Apps >> All >> Power Pages Management >> Play)
- You will notice, a “Contact” record has been created.
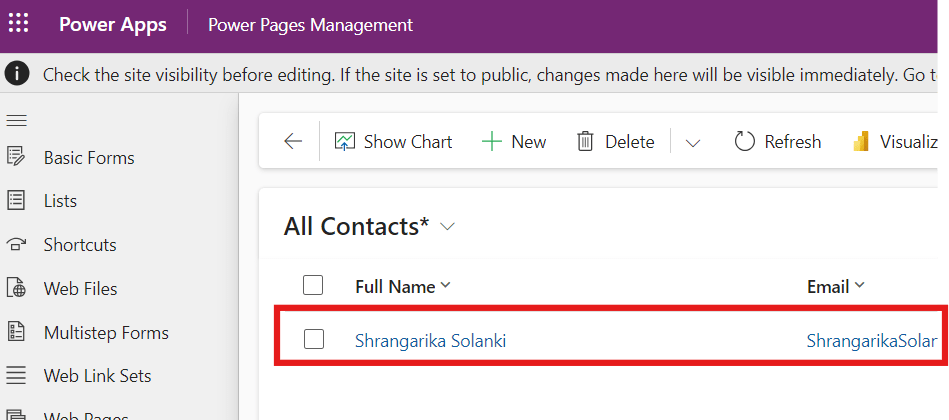
- Here, you can see all the information regarding that “Contact” record. Example – Username, Email Address etc.

I hope by following the above step-by-step process of setting up site authentication, you get an idea how to ensure secure user access on the Power Pages site.
If you find this blog useful, please like, share and subscribe to my channel for continuous learning.
Thanks for reading. 🙂
#Let’s_Learn_Together #D365 #Msftadvocate #PowerPagesLearning #Microsoft #PowerApps #Learning

Leave a comment