
Hello everyone,
Hope you all are doing good!
Security masking rules help in protecting sensitive information by displaying only masked data or hiding data entirely when appropriate. For example, Account Details, ID, Passport Number etc.
In this blogpost, we will learn:
- Enable Column Security
- Create Security Masking Rule
- Get the list of Secured Masking Rule
- Add Secured Masking Rule in a secured column
Let’s follow step by step to secure data:
Enable Column Security:
- Goto Power Pages >> Select the site and click on Edit site >> Data >> Select the table (example – Employee Details) >> +New Column
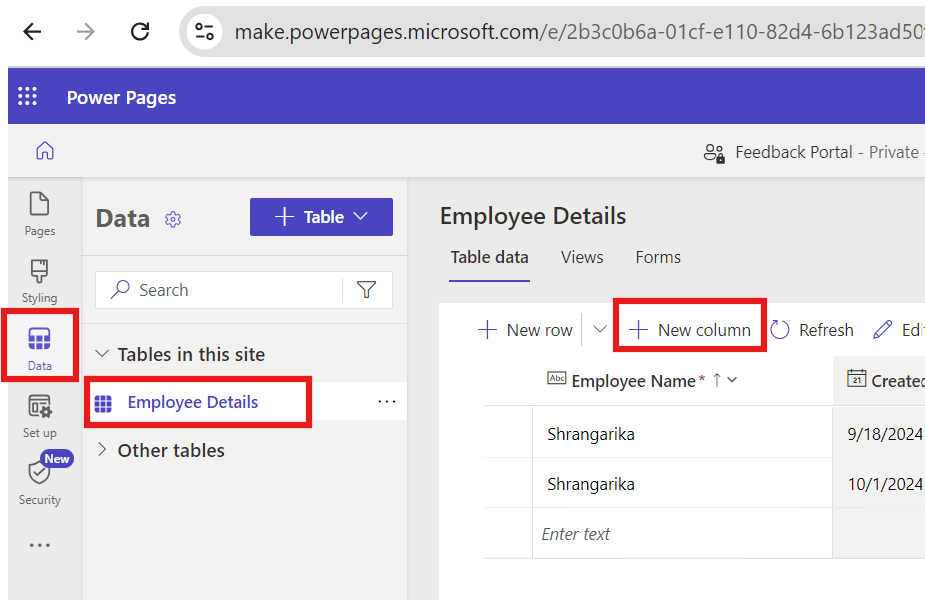
- Give a name to your column (Example – Passport Number) >> Add a description >> Select Single line of text under Datatype >> Expand Advanced Options and Enable Column Security checkbox
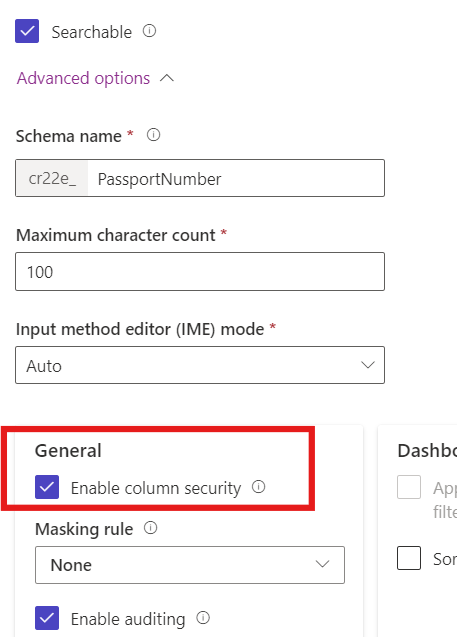
- Click on Save.
Create Secured Masking Rule:
- Goto Power Apps Editor
- Select your desired environment and solution
- Click on +New >> Security >> Secured Masking Rule.

- Enter the required details. Here we are using Regex function to validate Passport Number. Here is the regex: ^[A-Z][1-9]\d\s?\d{4}[1-9]$
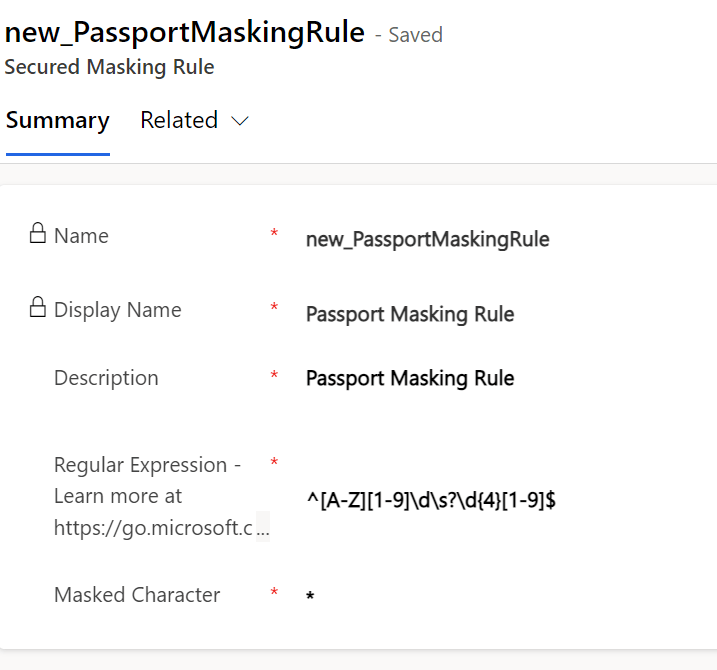
- Click on Save.
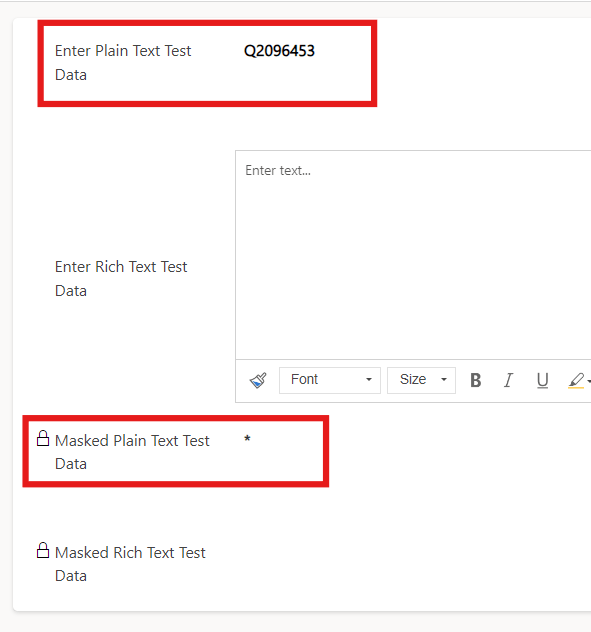
- You also can perform testing by entering test data under “Enter Plain Text Test Data” column and see the result under “Masked Plain Text Test Data” column as shown below:
Get the list of Secured Masking Rule:
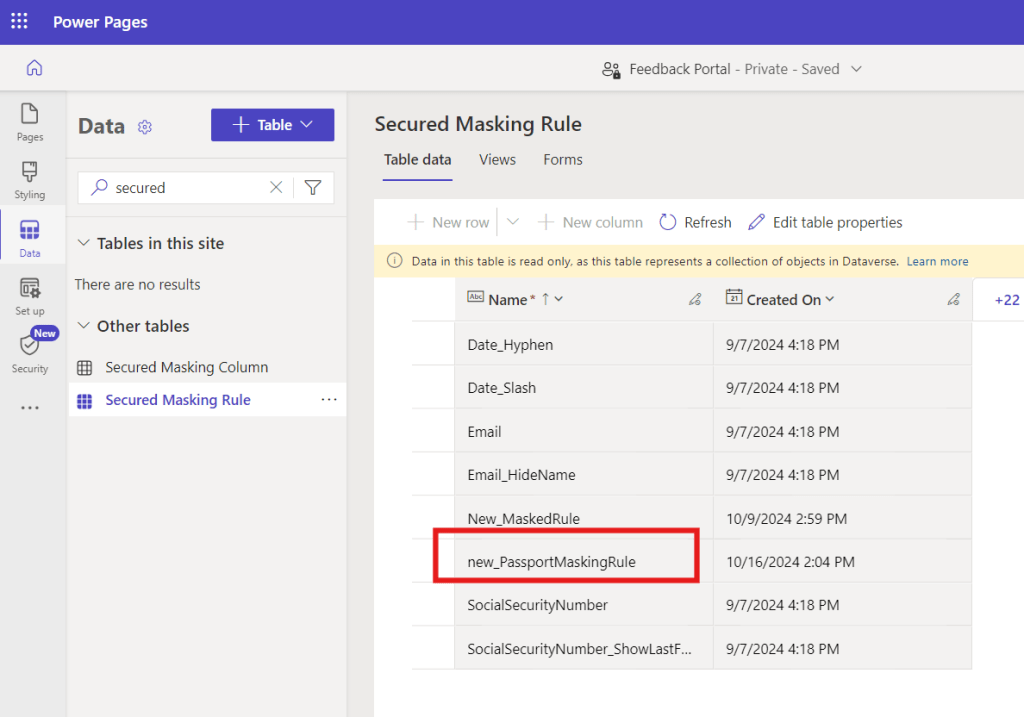
- Goto Power Pages >> Select the site and click on Edit site then click on Data then type “Secured Masking Rule” in the Search Box and select the “Secured Masking Rule” table
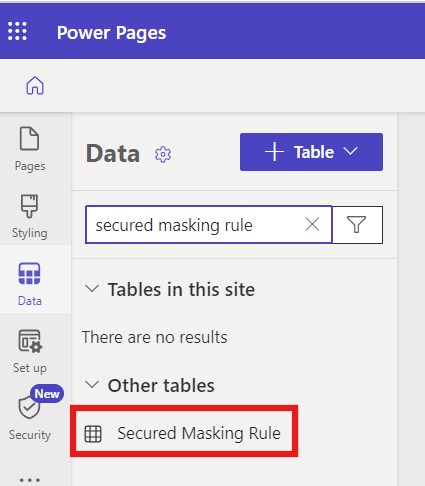
- In this list, you can see the record we have just created to secure Passport Number
Add Secured Masking Rule in a secured column
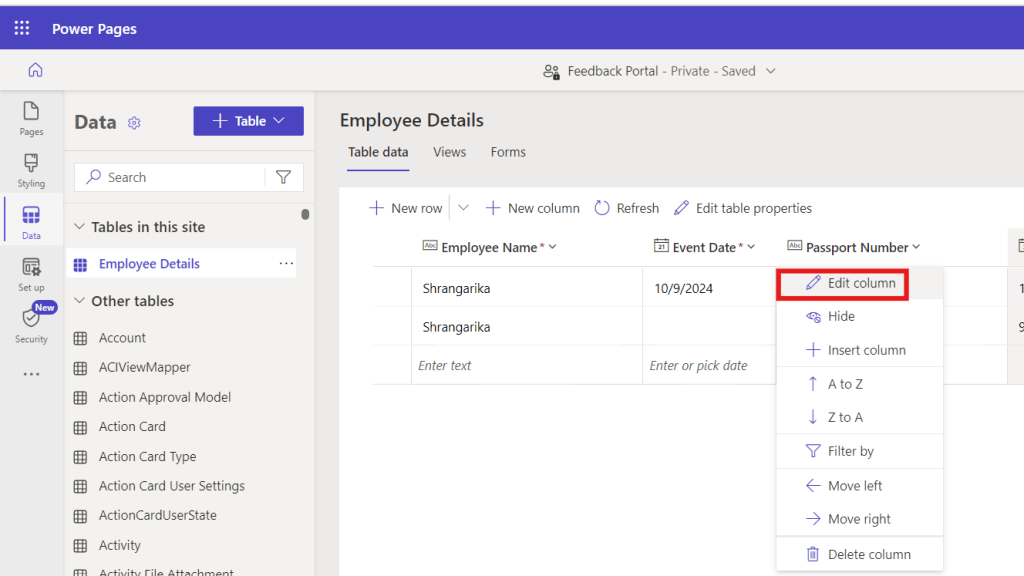
- Goto Power Pages >> Select the site and click on Edit site >> Data >> Select the table (example – Employee Details) >> Select the column (Example – Passport Number) and click on Edit Column
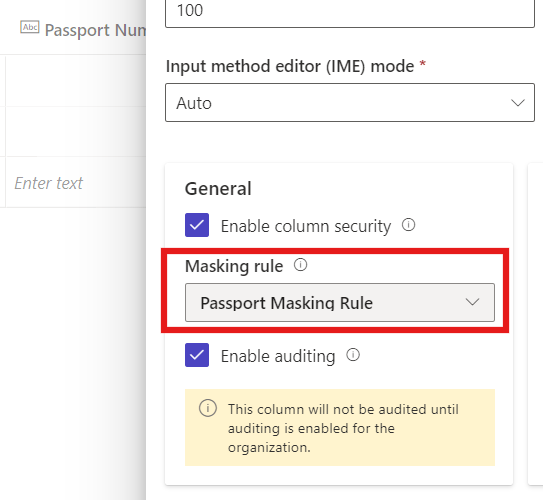
- Scroll down and expand Advanced Options >> Under Masking Rule, select the newly created masking rule (Example – Passport Masking Rule) as shown below.
Note: You only can add Secured Masking rules under the column with enabled Column Security.
- Click on Save.
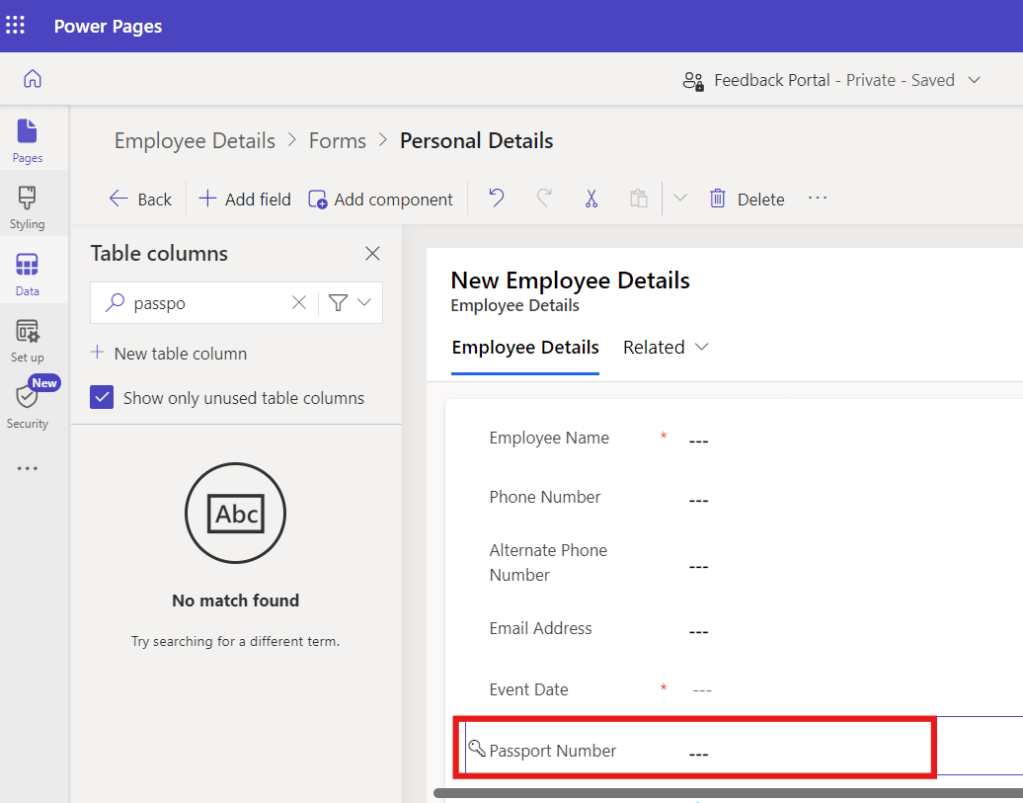
- Add the secured column on form if not yet added.
- Save and publish the changes.
- Click on Sync and then Preview.
See the Result:
Now, fill in all the details, submit the form and check the data.

I hope by following the above step-by-step process, you get an idea how to add Security Masking Rules on columns.
If you find this blog useful, please like, share and subscribe to my channel for continuous learning.
Thanks for reading. 🙂
#Let’s_Learn_Together #D365 #Msftadvocate #PowerPagesLearning #Microsoft #PowerApps #Learning

Leave a comment