Namaste Everyone,
Hope you are doing good!
In this blog, we will learn how to debug Ribbon buttons using “Command Checker” in Dynamics 365. While delivering on one of the client’s requirements, I came to know an amazing feature called “Command Checker” through which we can easily debug the ribbon buttons and deliver solutions to clients more quickly.
For that we need to pass ribbonbutton=true as a URL parameter.
Let’s see how it works:
So, instead of referring to any tool or navigating command bar from customization, we can simply check all the enabled rules, display rules and actions written on your respective button.
Scenario:
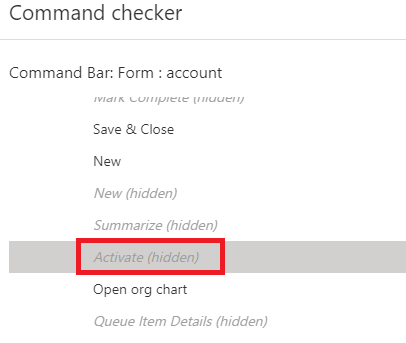
In this example, as you can see below that “Activate” button on the ribbon is not visible on selected Account record.

Enable Command Checker on form level:
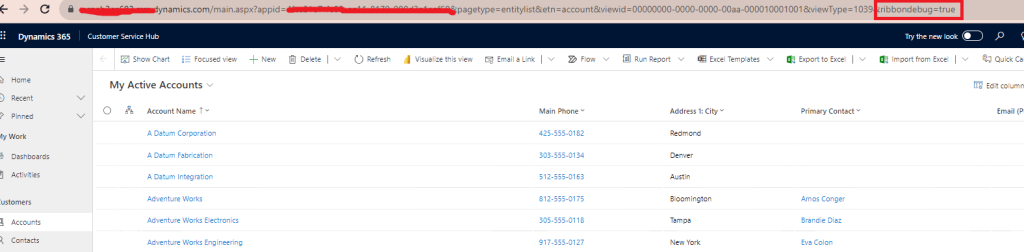
Add the following command to the end of Entity Form page URL:
&ribbondebug=true

- Now, click on three dots(…) on the ribbon and check “Command Checker” is visible now.
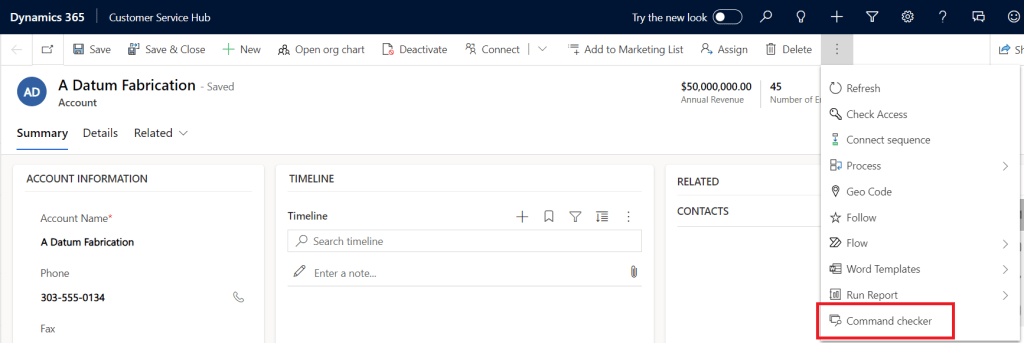
- Click on “Command Checker” option and a “Command Checker” window will appear as below.
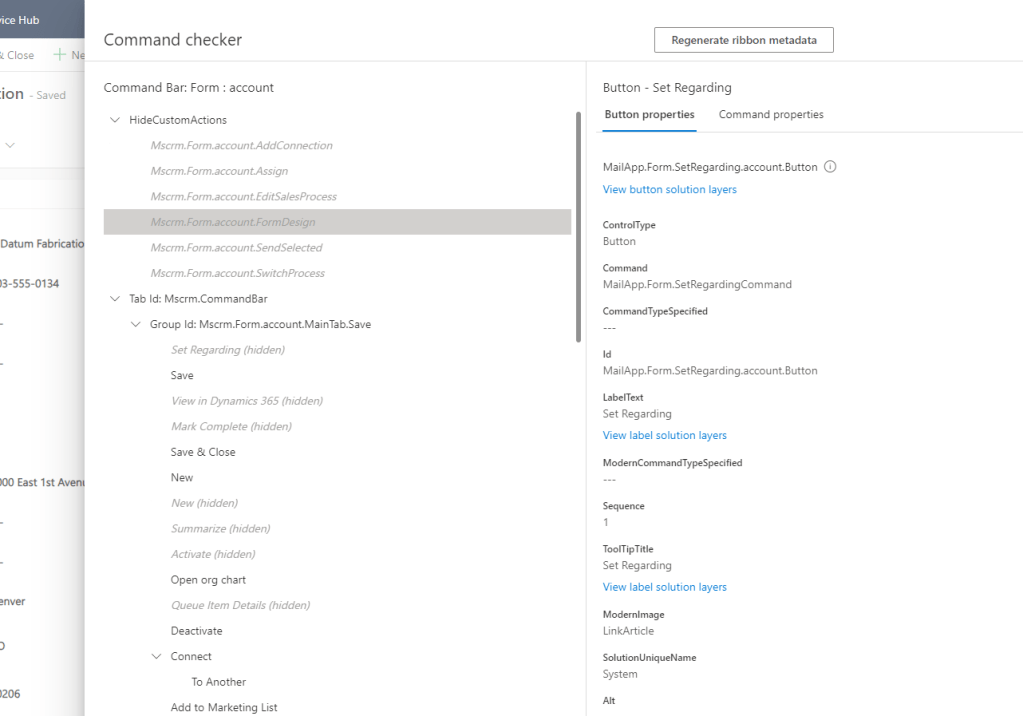
- Navigate to the button you are having issues on. For example – Activate
- You will see the “Button Properties” and “Command Properties”. Click on “Command Properties”
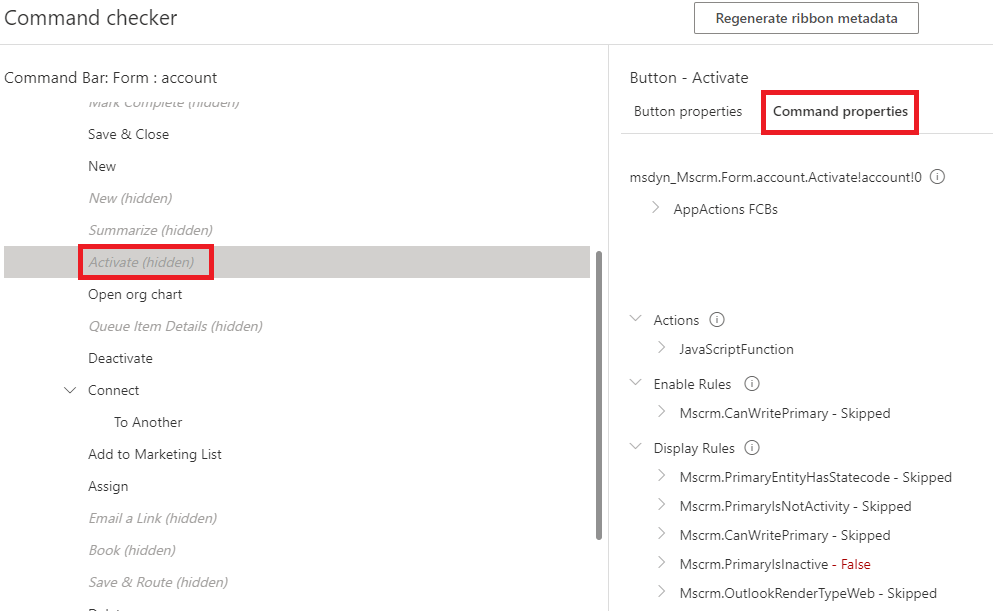
- You may now be able to see all the functions written on the selected button, Enable rules and Display rules. In our case, “Display rule” is set to as False:
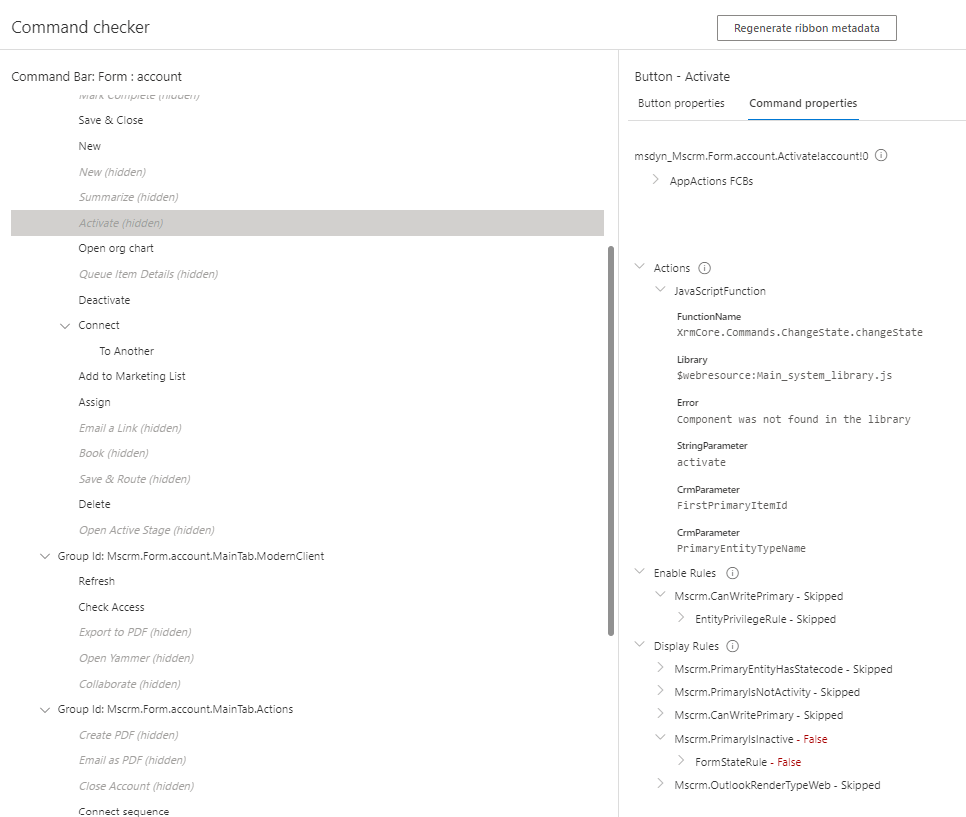
You may now enable the inactive rule as per your need and publish.
Note: You also can enable the “Command Checker” on grid level by following the same procedure.
Hope it helps!
#Let’s_learn_together
Stay tuned with Power Spark for continuous learning.
Thank you 😊

Leave a comment