Hello everyone,
Hope you all are doing good!
Microsoft Power Pages is a secure, enterprise-grade, low-code SaaS platform designed for creating, hosting, and managing modern external-facing business websites. Power Pages formerly known as “Power Apps Portal”.
- Suitable for both low-code creators and professional developers.
- Power Pages allows you to quickly design, configure, and publish websites that are optimized for all web browsers and devices.
- Power Pages is a part of the Microsoft Power Platform family.
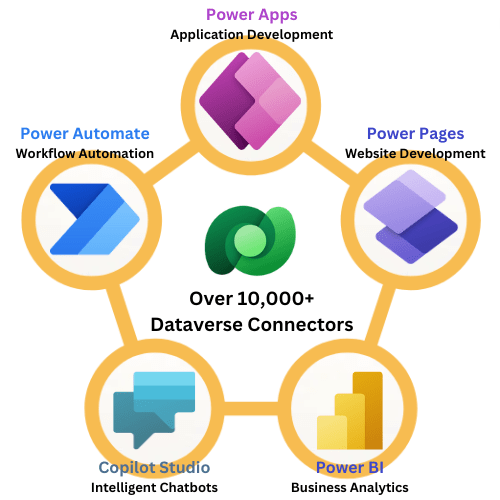
- It enables you to create websites using the same business data stored in Microsoft Dataverse that you use for developing apps, workflows, intelligent virtual agents, reports, and analytics with other Microsoft Power Platform tools in your organization.
Steps to Sign Up for Power Pages Trial:
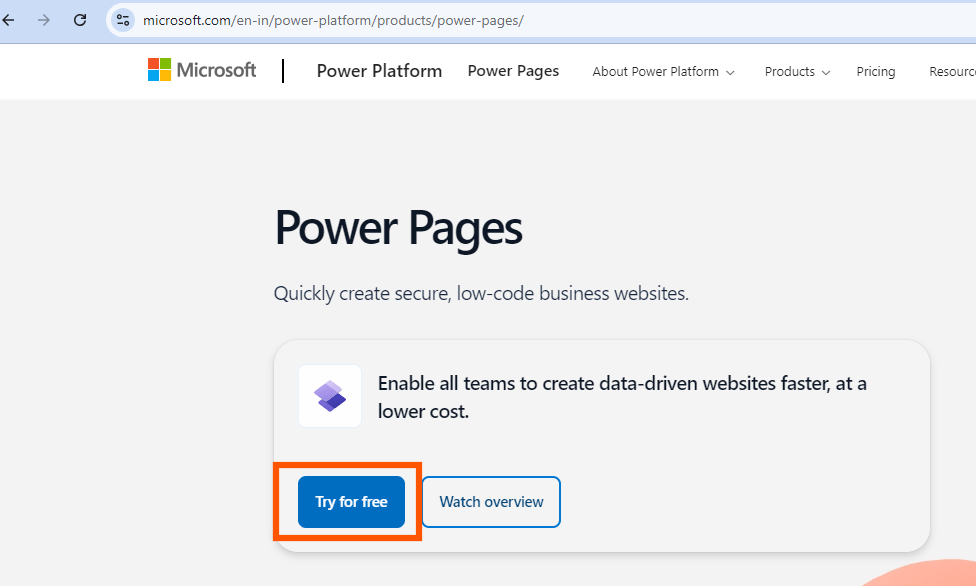
- Goto https://powerpages.microsoft.com/
- Select “Try for Free”.
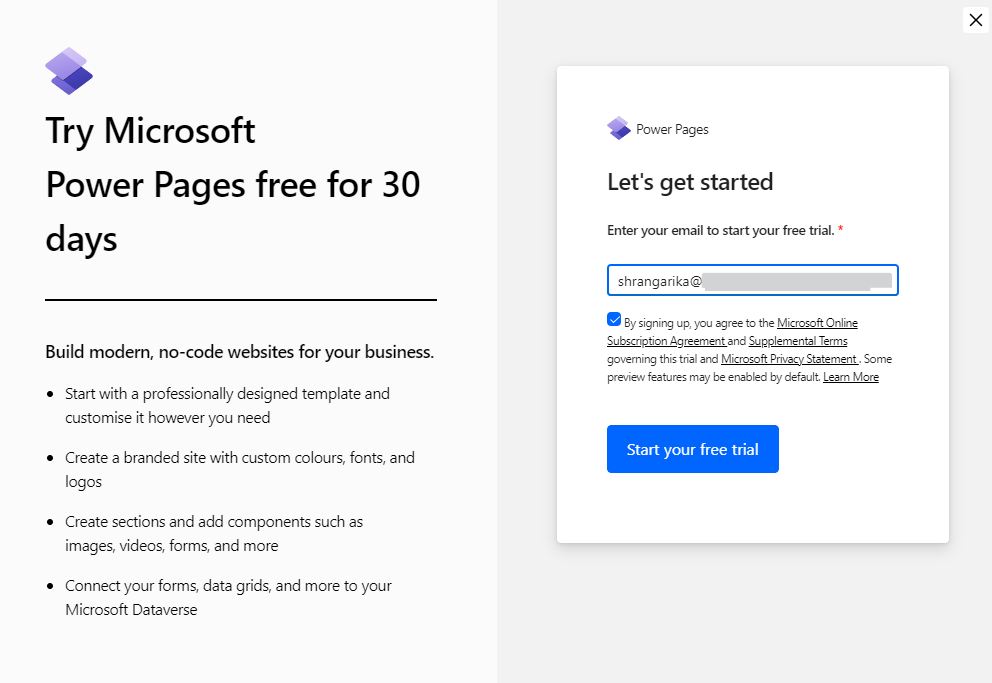
- Now, Follow the on-screen instructions to enter your work or school email address, which is supported by Microsoft Entra ID. Then, enable checkbox to agree “Terms and Conditions” and select “Start your free trial”.
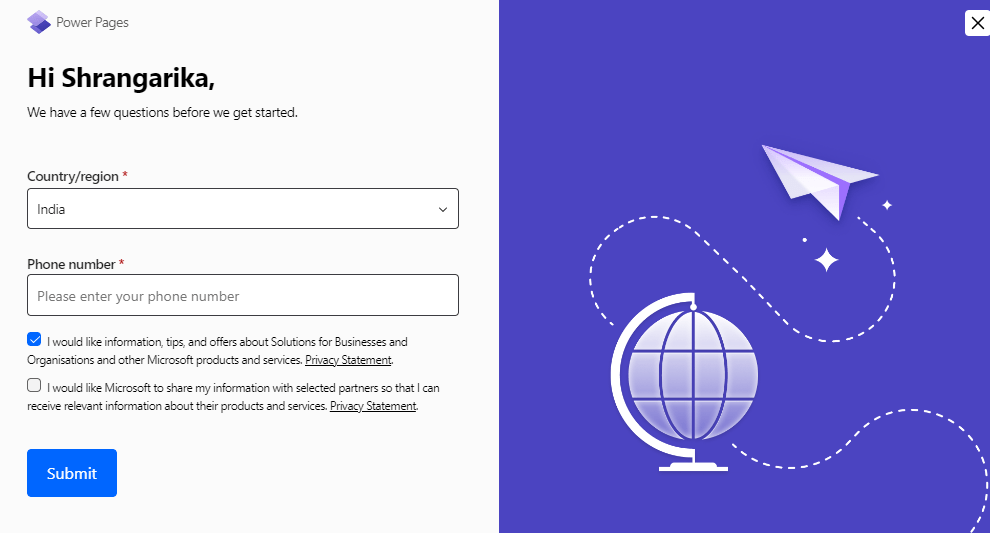
- Next, provide your country/region and phone number and click on “Submit”.
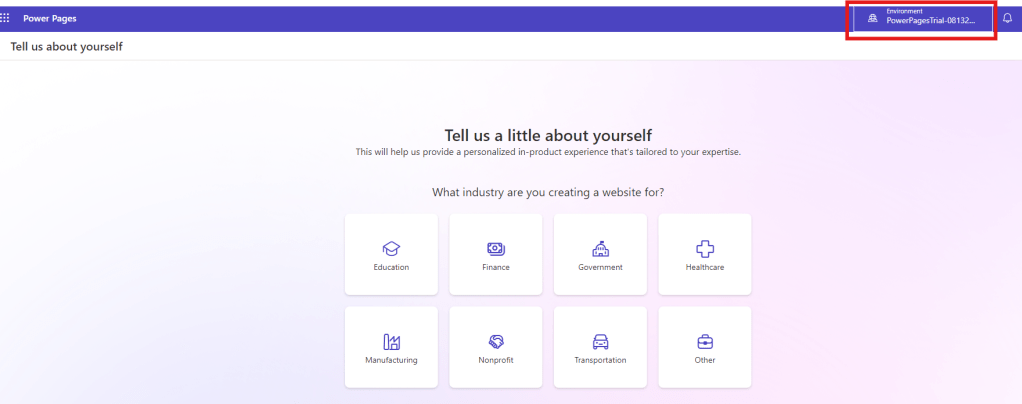
- A new Power Platform trial environment will be created for you as shown below and you can select an option for which you want to create a website for. Here, I have selected “Other” and clicked on “Next”.
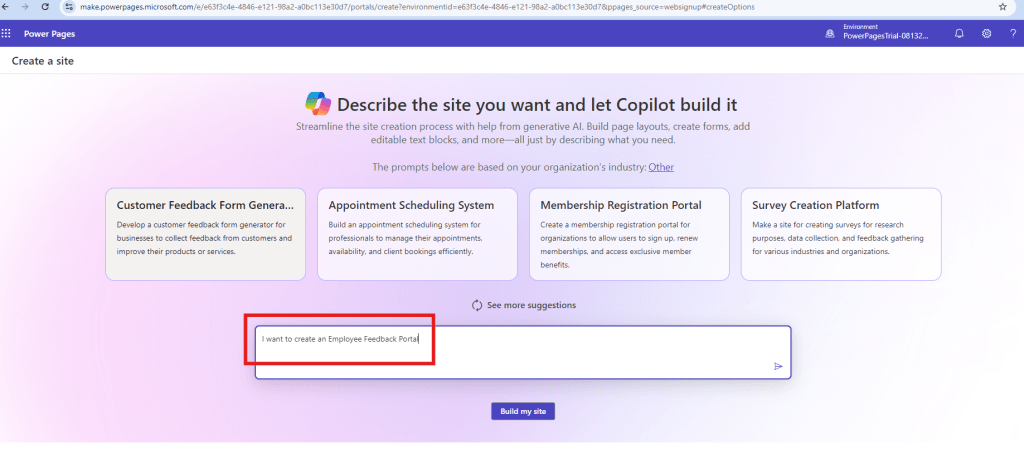
- You can either describe the site you want and let Copilot build it for you or browse through available templates. To learn more about each template, hover over it and select “Preview template.” Here, I am letting Copilot to create a website then click on “Build my site”.
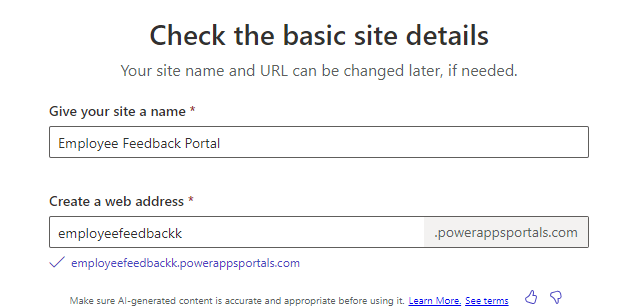
- You may enter the basic details like “Site Name” and “Web Address” as shown below then click on “Next” from the bottom right corner of your screen.
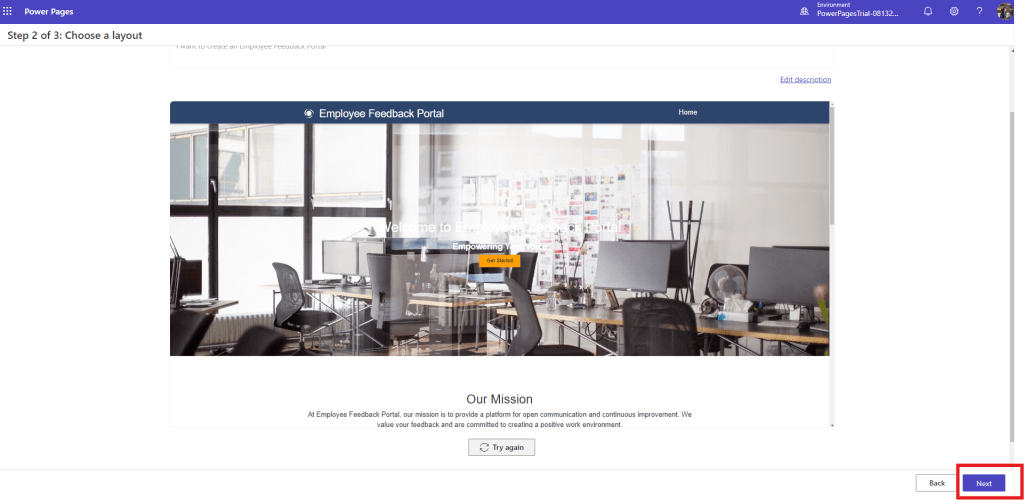
- Now, choose your preferred layout and click on “Next”.
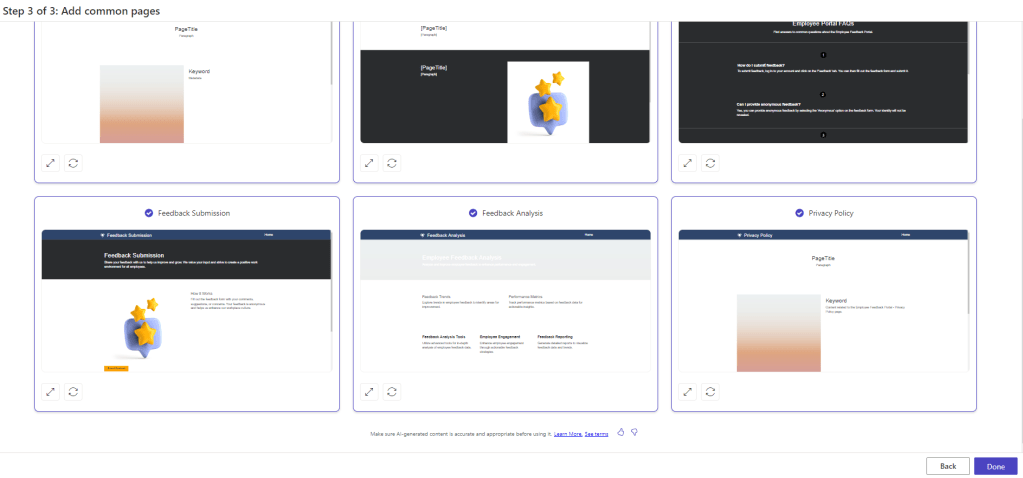
- If you want, you may add some common pages from this screen, for example – Home Page, Contact Us page etc. then click on “Done”.
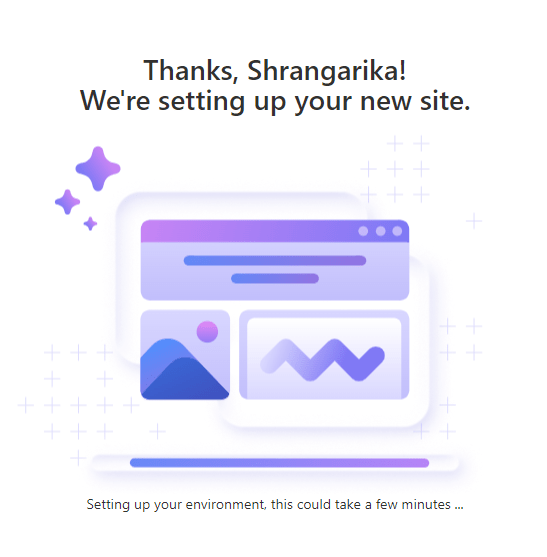
- The setup process for your site will take a few moments.
- Once done, you’ll see your new site in the design studio.
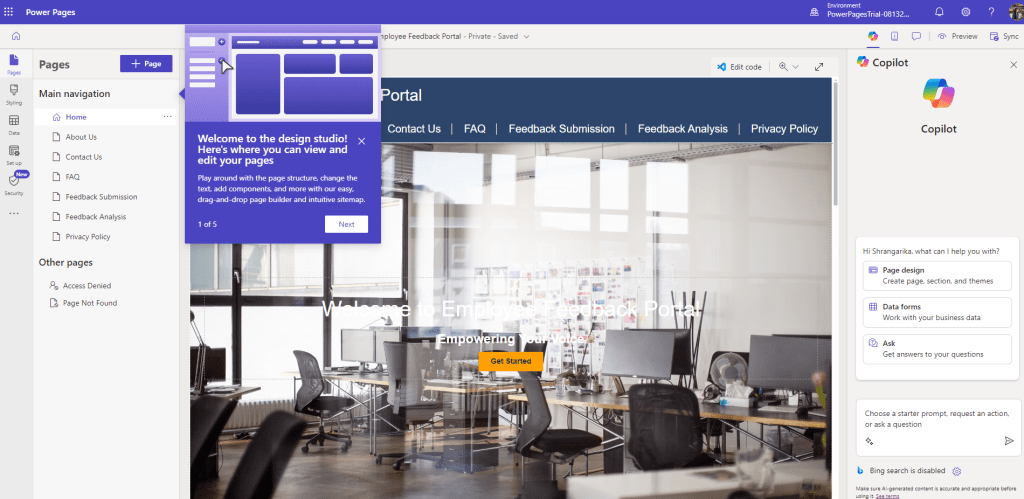
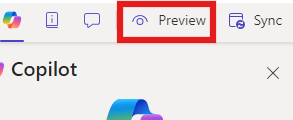
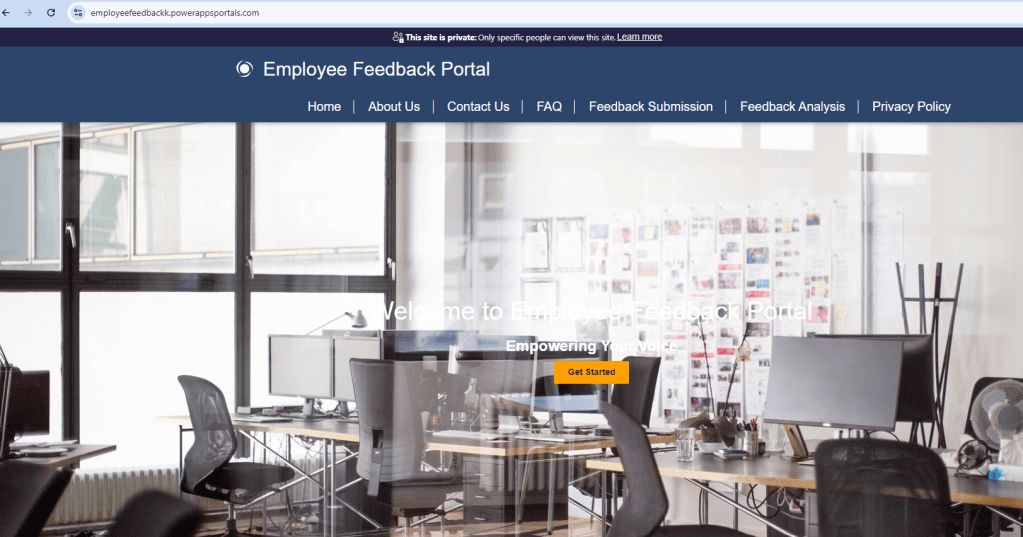
- Your site is now ready to customize, you may click on “Preview” option then “Desktop” from top right corner to preview your site.
- Hurray! Your site is now ready!
I hope this helps! By following the step-by-step process outlined above, you should be able to create a Power Pages site. In case of any concerns or queries, reach out via comments section or DM me on linked in.
Thanks for reading.
#Let’s_learn_together
Stay tuned for continuous learning.

Leave a comment