
In today’s fast-paced workplace, gathering feedback from employees is crucial for continuous improvement, boosting morale, and ensuring a healthy organizational culture. Microsoft’s Power Pages and Power Automate provide an innovative solution to streamline the feedback process, ensuring that both positive and critical feedback are handled efficiently and appropriately.
In this blogpost, we’ll explore how to set up an Employee Feedback system using Power Pages, and automate the process of collecting feedback, notifying Employee Care for critical responses. This approach not only simplifies the feedback process but also ensures that critical issues are addressed promptly.
In one of our previous blogs, we have learnt how to add pages to your site, follow the same process and add a page.
Here is the link to add a page: https://powersparkbyshrangarika.wordpress.com/2024/08/23/power-pages-how-to-add-a-page-to-your-power-pages-site/
And to add a form to a page. Here is the link: https://powersparkbyshrangarika.wordpress.com/2024/09/06/power-pages-how-to-add-a-form-on-power-pages/
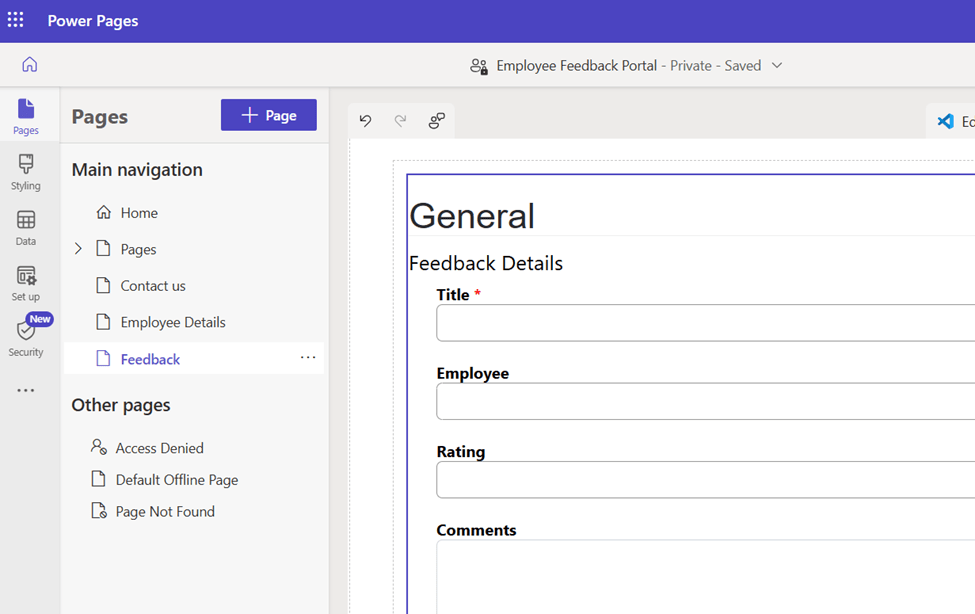
In this example, we have created a page named “Feedback” and added a Feedback form from Feedback table. Following are the columns added to the Feedback form:
Title: {Text Field}
Employee: {Lookup to Employee}
Rating: {Whole Number}
Comment: {Multiline text}
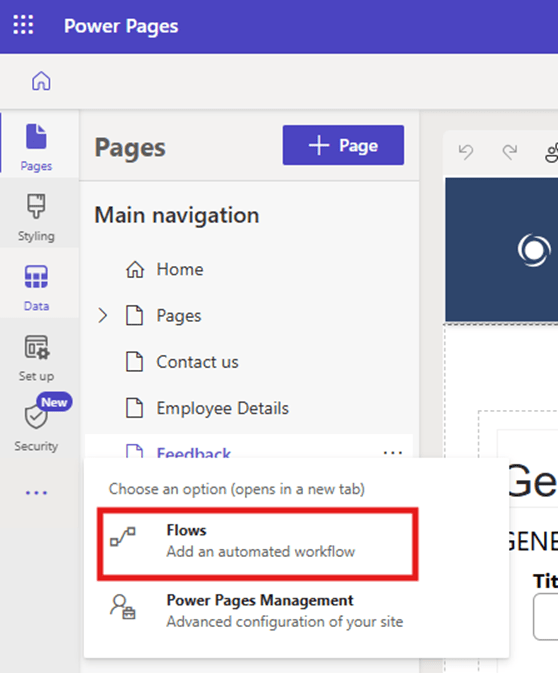
Once the above setup is done, click on three dots (…) >> Flows
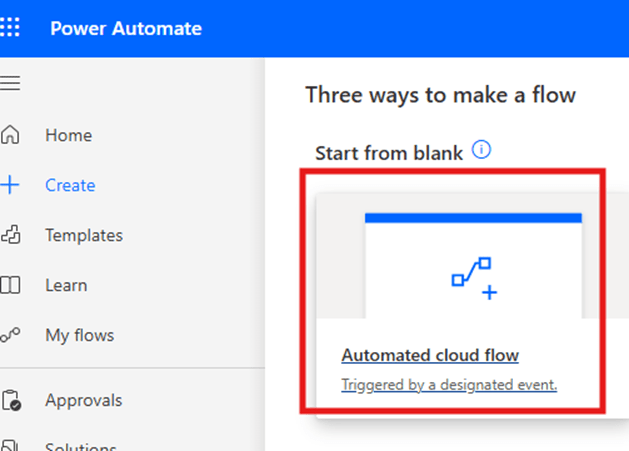
Click on “Automated Cloud Flow”.
Give a name to your cloud flow and choose flow’s trigger as “When a row is added, modified or deleted” then click on Create.

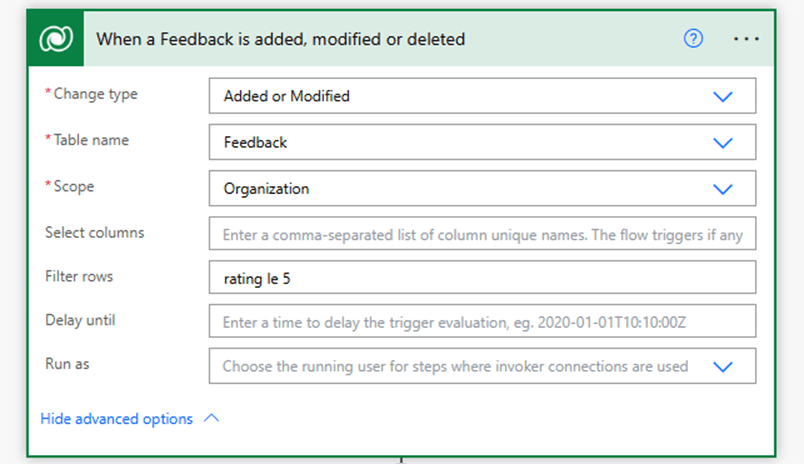
Fill the information as below:
- Change Type: Added or Modified
- Table Name: Feedback
- Scope: Organization
- Filter rows: rating le 5
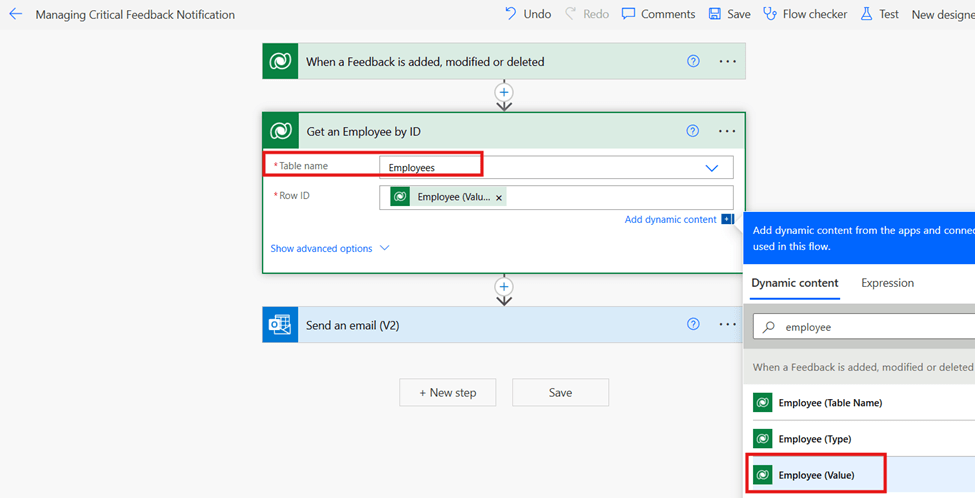
Add a New step “Get a row by ID” and add following details:
- Table Name: Select Employee table
- Row ID: Select Employee (Value) from dynamic content
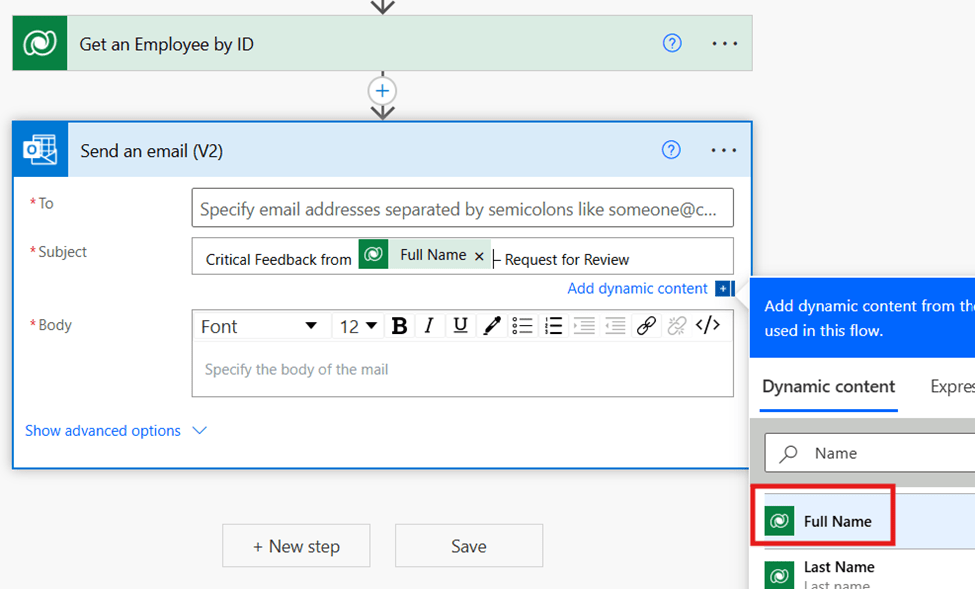
Create a new step “Send an email (V2)” and add following details:
To: Mention Employee Care Department Email Address [In this example, I am using my email address]
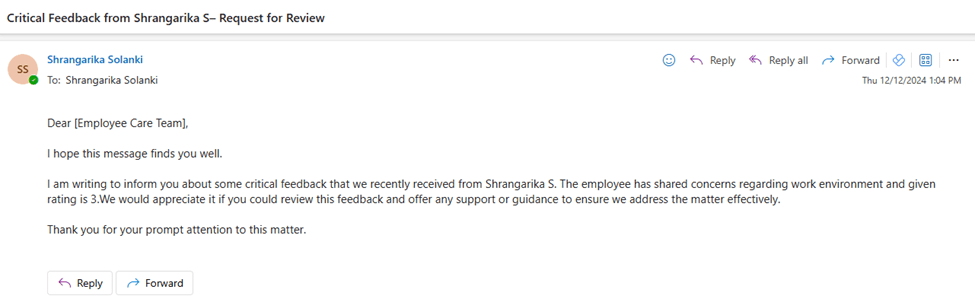
Subject: Critical Feedback from [Employee Name] – Request for Review
Body:
Dear [Employee Care Team],
I hope this message finds you well.
I am writing to inform you about some critical feedback that we recently received from [Employee Name]. The employee has shared concerns regarding work environment and given rating is [Rating]. We would appreciate it if you could review this feedback and offer any support or guidance to ensure we address the matter effectively.
Thank you for your prompt attention to this matter.

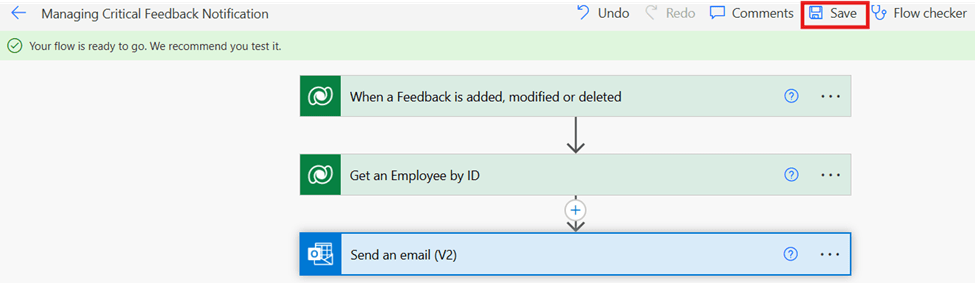
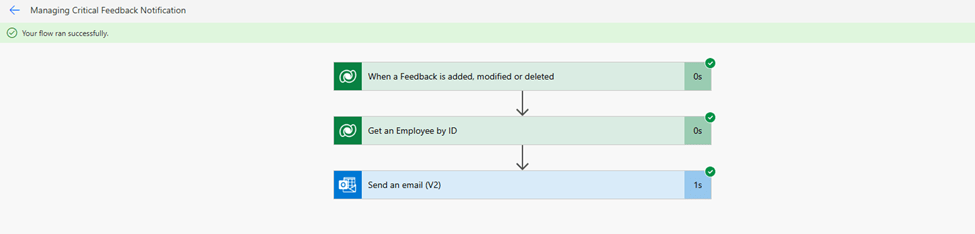
Once done Save and Test your flow.
Testing:
Goto your Power Pages Site, fill in the information through Feedback form and Submit.
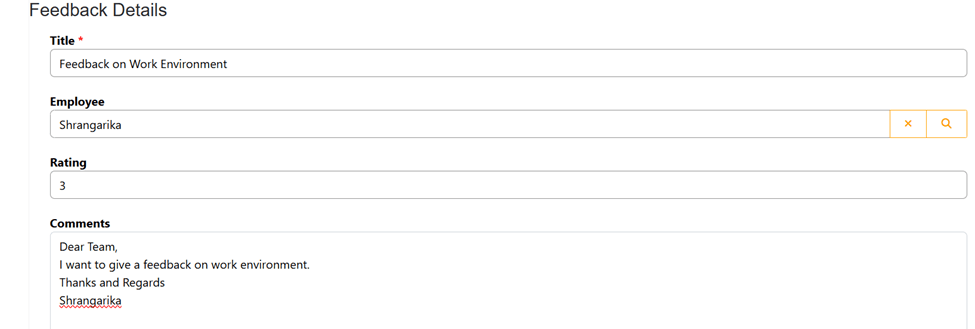
Now, once Feedback record will be created successfully with Rating “Less than or equal to 5”, Employee Care department will receive a notification, and you also can see “You flow ran successfully message”.
Output:
I hope by following the above step-by-step process, you get an idea of how to enhance Power Pages capabilities using Power Automate.
If you find this blog useful, please like, share and subscribe to my channel for continuous learning.
Thanks for reading. 🙂
#Let’s_Learn_Together #D365 #Msftadvocate #PowerPagesLearning #Microsoft #PowerApps #Learning #Microsoft

Leave a comment